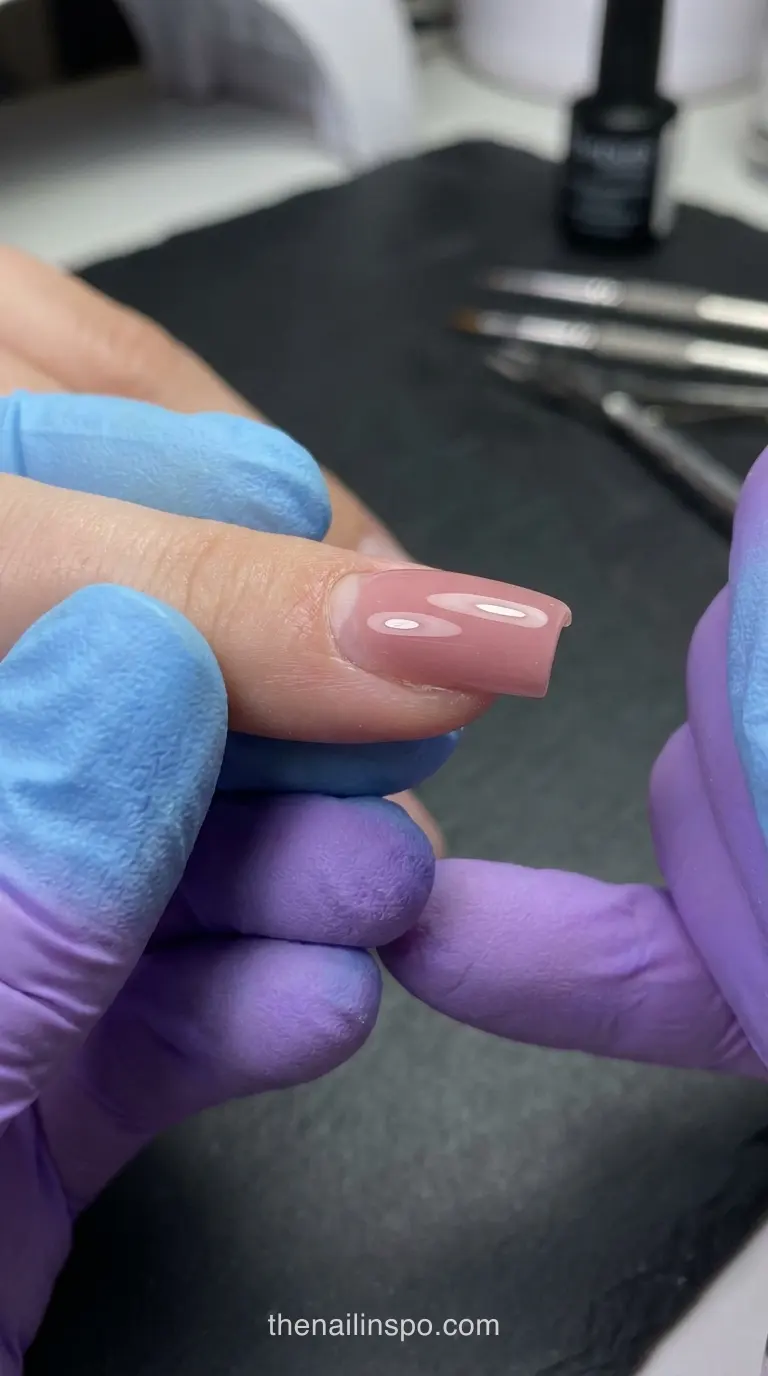
Schedule your dip powder nail fill every two to three weeks, right before natural growth pushes the thickest part of the overlay past your central stress zone. You don’t have to dissolve your enhancements in pure solvent after every single appointment. When the initial set sits over a transparent foundation scaffold, you can debulk the pigmented top layers, bevel the regrowth seam flush, and rebuild the cuticle zone in one sitting. This maintenance routine spares your natural plate from constant chemical stripping while keeping the upper arch structurally sound.
Key takeaways- Cyanoacrylate dip overlays can be debulked and refilled at the cuticle zone rather than stripped in pure solvent at every appointment.
- Leaving an outgrown enhancement unbalanced past three weeks turns the extended free edge into a lever that strains the nail matrix.
- Laying a transparent powder scaffold beneath colored pigment lets you file off old shades completely without touching the natural nail plate.
- Filtering high-boiling resin fumes at the salon desk requires an organic vapor cartridge rather than a standard paper dust mask.
Your Dip Powder Nail Fill Schedule and Checklist
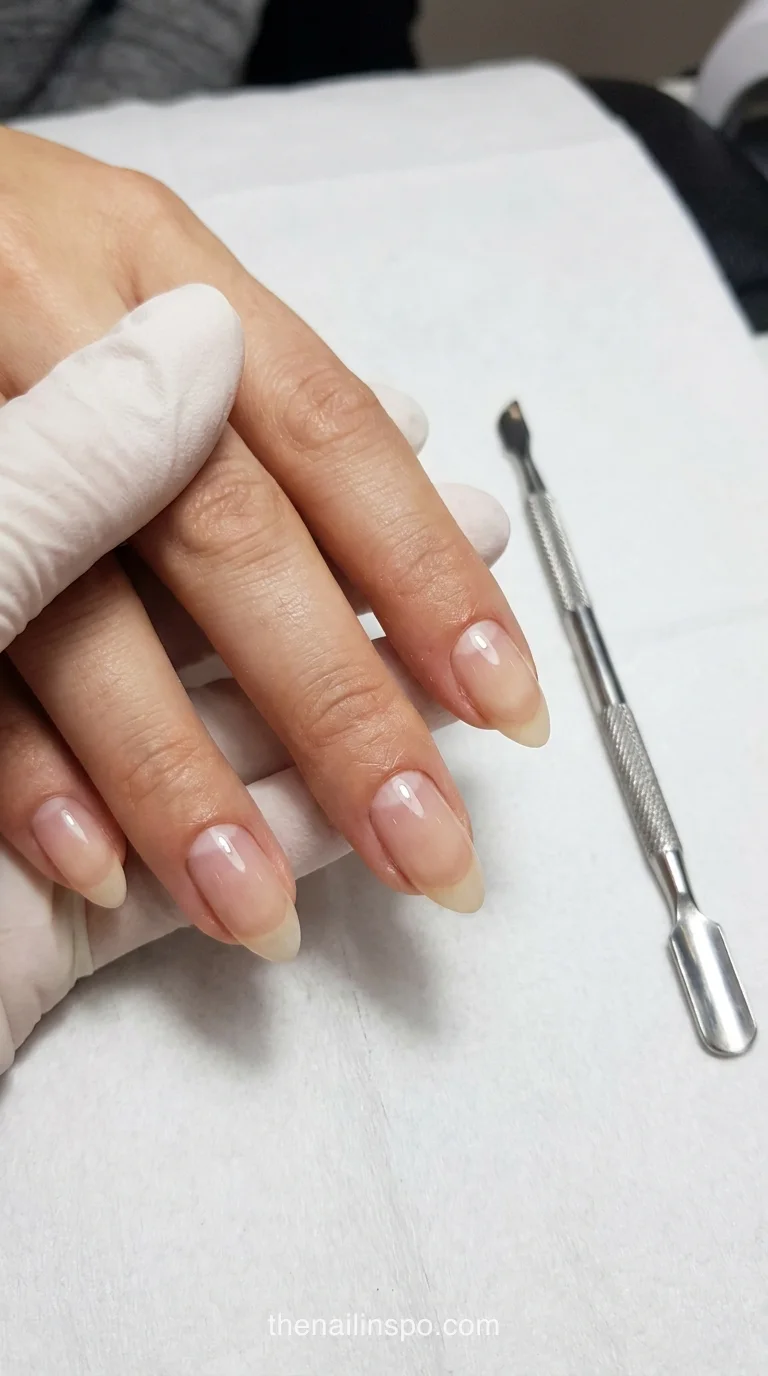
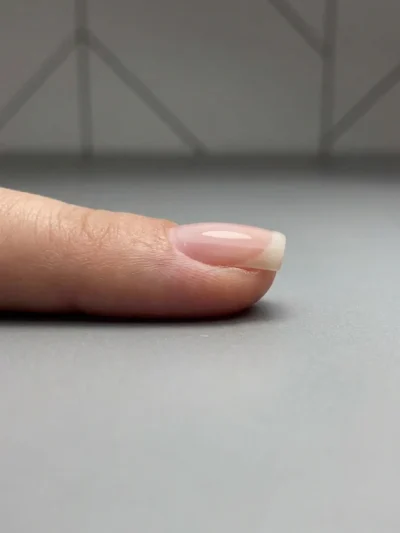
A balanced dip maintenance service requires a total enhancement thickness between 0.5 mm and 1.0 mm, weighted over the center apex and tapered flush to a 0.5 mm boundary gap at the eponychium. Before you pick up an abrasive, run a structural pre-check across all ten fingers so you don’t seal trapped moisture or micro-fractures beneath fresh polymer.
- Inspect the translucent base zone under bright desk lighting for any shadowy detachment or green-brown staining before committing to an infill.
- Press gently on the distal free edge to confirm the center stress arch doesn’t flex or blanch the underlying nail bed.
- Verify that the proximal regrowth gap shows clean, healthy keratin with zero redness or swelling around the proximal nail fold.
- Check your client service log to confirm the existing foundation hasn’t already exceeded its maximum consecutive refill limit.
Can You Fill In Dip Nails Without Soaking?
Yes, you can fill in dip nails without soaking them off by filing away the colored surface layer down to a clear foundation and applying fresh product solely to the regrowth zone. Although consumer blogs universally claim dip overlays must be dissolved every visit, manufacturer protocols confirm that cross-linked acrylic polymers bond cleanly to beveled existing resin.
Salons that refuse backfills and force a full chemical soak-off every single visit are usually masking sloppy foundation work. It’s much easier to melt everything off in foil wraps than to file a clean transition plane. In my London studio, switching repeat clients from three-week solvent removals to structured backfills stopped the chronic distal peeling we used to see every winter. If your enhancement is solid across the center plate, stripping it down to bare keratin makes zero structural sense.
Common Mistakes Refilling Dip Powder Nails
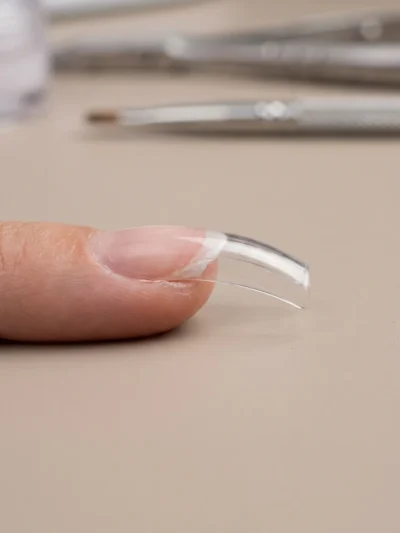
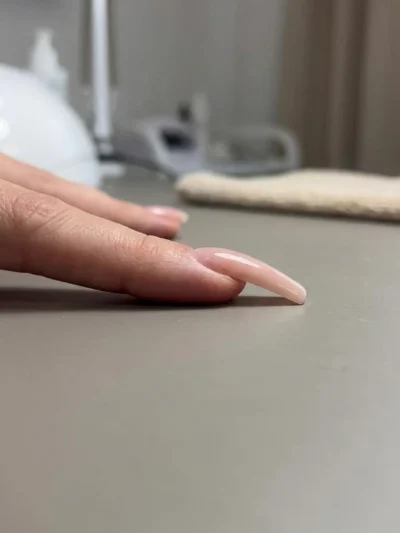
The biggest mistake when refilling dip powder nails is stacking new layers directly over an outgrown set without debulking the forward-shifted apex first. If you don’t thin the distal free edge and clip lifted margins instead of filing them out, you’ll create a top-heavy wedge that cracks across the stress zone within days.
Never take cuticle nippers to a lifted pocket of resin. Nipping brittle polymer sends microscopic shockwaves forward through the remaining bond, creating invisible fissures that lift seventy-two hours later. Instead, feather the detached edge from above until the seam disappears into adhered product. And don’t flood resin up against the live skin fold to hide regrowth. You’ll create a hard ledge that catches on hair and pulls the entire overlay loose.
Sophia Beed’s note: If you spot a white stress line running halfway across the sidewall during debulking, don’t just paint base resin over it. Carve a shallow trough along the crack with a fine tapered barrel bit before bridging it with fresh powder, or that fracture will split right through your new top coat.
 Read NextWhy Do Acrylic Nails Lift? 6 Secrets to Stop It Now
Nail Apex Rebalance Timing vs Full Acetone Removal
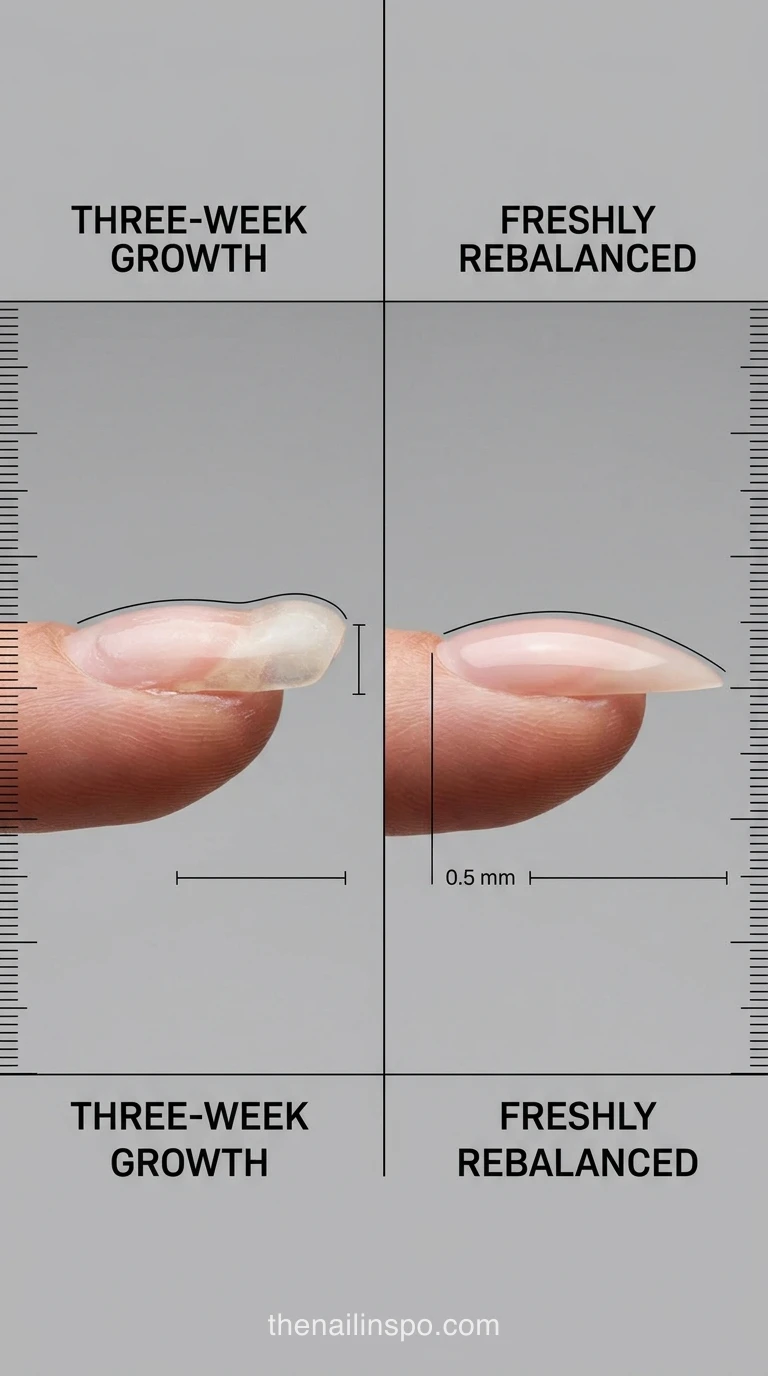
A timely nail apex rebalance repositions the highest point of structural support back over the natural nail’s center of gravity without exposing the plate to dehydrating solvents. When an enhancement grows out past its structural threshold, every tap against a keyboard turns the extended free edge into a lever that pries upward on the root.
How Often to Fill Dip Nails for Safe Wear?
Deciding how often to fill dip nails comes down to your natural growth rate: human fingernails grow an average of 0.03 inches (0.76 mm to 1.0 mm) weekly, requiring a rebalance every 14 to 21 days. Waiting longer than three weeks shifts the apex forward and triggers lever-arm matrix trauma whenever the tip catches.
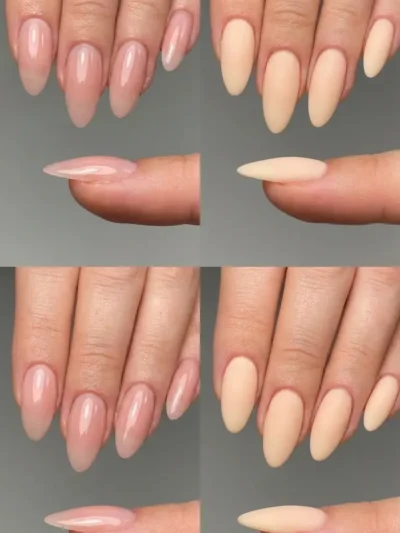
Two summers ago, a regular client walked into my West End chair at week five with her almond tips grown out nearly afifth of an inch. She’d caught her right index finger on a car door handle that morning. Because the bulk of the overlay sat way out over her hyponychium, the impact didn’t snap the tip off cleanly. It torqued the entire plate upward from the nail bed. You can review our almond nail apex placement guide to see how a properly centered stress arch absorbs frontal shock before it reaches live tissue.
2026 Dip Powder Fill Cost vs Full Set Time
In 2026, the average US salon dip powder fill cost ranges between $35 and $65 for a 35- to 50-minute appointment, generating $60 or more per chair hour compared to full sets. Because technicians don’t waste twenty minutes monitoring foil wraps, backfills lower material overhead while keeping appointment books moving on schedule.
From a desk-economics standpoint, soak-off appointments silently drain studio revenue. You’re paying for pure solvent, cotton pads, foil squares, and extra cuticle oil while your client sits idle with wrapped hands. When you replace three consecutive soak-offs with precision rebalances, you cut chemical waste and reclaim enough schedule margin to fit an extra maintenance booking into a standard eight-hour shift.
| Maintenance Factor | Timed Apex Rebalance (Infill) | Full Acetone Soak-Off Every Visit | Verdict |
|---|---|---|---|
| Dorsal Keratin Preservation | Leaves the protective base layer intact so natural plate cells aren’t repeatedly scraped or dehydrated. | Exposes bare keratin to prolonged solvent immersion and mechanical scraping every few weeks. | Choose an infill whenever the underlying base remains tightly adhered. |
| Structural Stress Mechanics | Shaves forward bulk and rebuilds the upper arch directly over the natural stress point. | Strips all structural support before rebuilding a fresh architecture from bare plate up. | Infill wins for ongoing structural stability between cycles one and four. |
| Color & Design Transitions | Permits complete shade changes once pigmented top coats are filed down to the transparent scaffold. | Required only when switching from dark glitter to sheer negative-space art without a clear base. | Build a transparent base on day one so infills handle any color swap. |
| Salon Chair Efficiency | Completes prep, debulking, and regrowth application in one continuous technical workflow. | Adds dead chair time waiting for cross-linked polymer resins to soften inside solvent wraps. | Infills deliver superior hourly desk yield and lower consumable waste. |
Step-by-Step Dip Nail Backfill Protocol for Salons
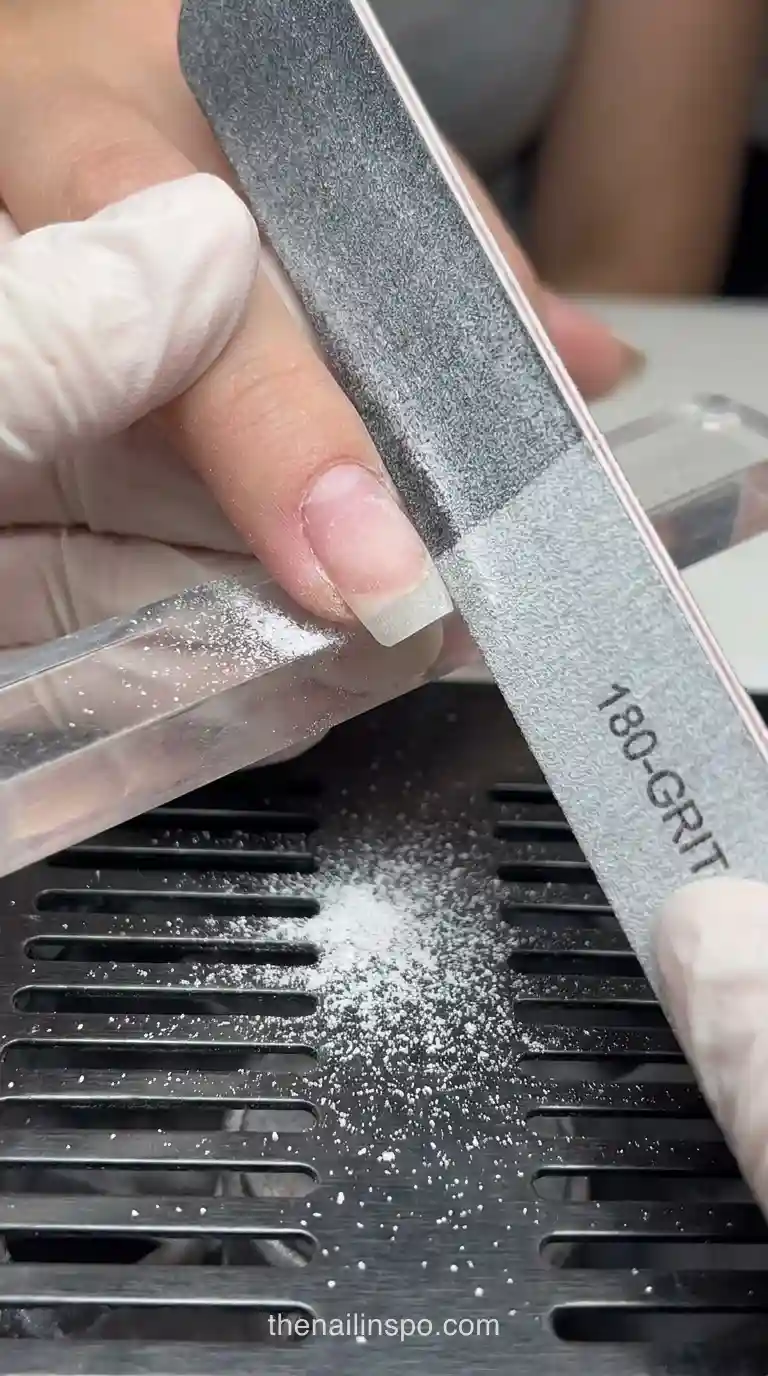
Executing a salon-grade dip nail backfill takes four sequential phases: debulking pigmented bulk down to the transparent scaffold, beveling the regrowth ledge flush, rebuilding the proximal arch in stepped passes, and refining the lateral contours. You’ll need a medium-grit safety bit, a hand file, fresh dehydrator, and uncontaminated resin liquids before starting.
Step 1: Best Clear Dip Base Layer Setup
The best clear dip base layer setup consists of a 2- to 3-layer transparent powder foundation applied beneath your colored pigment during the initial service. Technicians consistently report that this clear scaffold allows full surface color removal during maintenance fills without abrading natural dorsal keratin. You’ll simply debulk until only that crystal-clear shield remains.
Step 2: 180-Grit File Blending At Home
Proper 180-grit file blending at home or in the studio removes the visible step between your old enhancement and fresh nail growth without shredding live plate cells. Angle your hand file flat against the beveled resin edge rather than pressing downward on the lunula, so the abrasive doesn’t gouge a ring of fire.
Step 3: Eponychium Prep and Regrowth Fill
After dusting away filing debris and wiping the exposed plate with isopropyl alcohol and dehydrator, apply a thin crescent of base resin solely across the bare regrowth zone. Dip into finely milled powder, tap off the excess at a forty-five-degree angle, and repeat with a slightly wider pass that overlaps the old apex.
Step 4: Activator Cure and Apex Refining
Flood the newly filled structure with a generous coat of activator to harden the layered polymer before shaping the upper arch and sidewalls with a fine contouring file. Once the profile curves smoothly from the proximal fold to the free edge, buff out surface scratches so your final gloss coats don’t pool.
Coarse 80-grit and 100-grit hand files don’t belong anywhere near a dip backfill transition line. If your rotary debulking leaves such a thick ledge that a 180-grit abrasive can’t feather the seam in ten light strokes, your e-file depth control needs adjustment. When I train junior techs in London, I make them practice blending on tips painted with red polish beneath clear powder. If they file through the clear layer and scuff the red paint, they’re pressing too hard on the natural plate.
 Read NextHard Gel vs Acrylic: Which One Is Best for You?
Cyanoacrylate Resin Cure Times and Vapor Safety in 2026
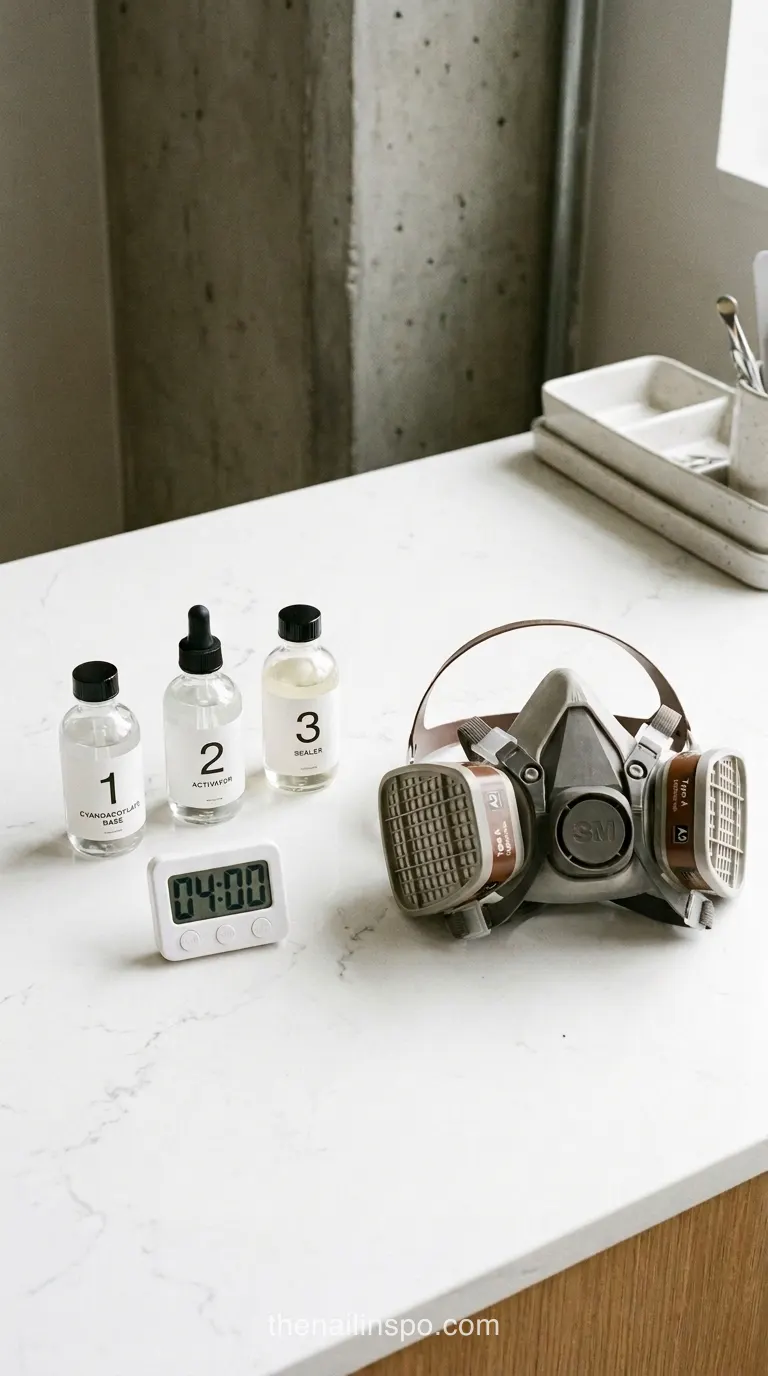
Mastering cyanoacrylate resin chemistry means respecting exact polymerization clocks during the final sealing stage: wait 3 to 5 minutes of drying time after the second activator pass, followed by 2 to 3 minutes for the first sealer coat and 3 to 5 minutes for the second sealer coat. Rushing these intervals ruins clarity.
How Long and When to Soak Off Dip Powder?
Knowing when to soak off dip powder protects the nail bed from hidden moisture pockets: practitioners report that dip enhancements should undergo a maximum of 2 to 4 fills before requiring a complete acetone soak-off. That full removal takes fifteen minutes after debulking the top gloss and lets you visually inspect bare keratin health.
Here’s the decision rule I enforce at my table: if your client’s regrowth gap is clean, the clear foundation shows zero micro-lifting, and they’re on fill number one, two, or three, proceed with a backfill; if they’ve reached their fourth consecutive fill or show any cloudy pocket detachment, soak the entire set off immediately. This limitation also applies if a client wants to reshape wide square enhancements into narrow stilettos where the existing lower arch won’t align.
Preventing Cyanoacrylate Vapor Exposure Daily
Reducing cyanoacrylate vapor exposure during back-to-back appointments requires pairing a source-capture downdraft table with a Type A (A2) organic vapor respirator. Because ethyl 2-cyanoacrylate boils at 195 degrees Celsius, its heavy fumes penetrate standard paper dust masks and low-boiling Type AX filters, irritating your upper airway if you don’t filter the breathing zone.
I spent my third year behind the chair getting a scratchy throat every Friday evening because I wore a basic surgical mask during dip services. Paper masks trap acrylic dust particles, but they don’t stop monomer gas molecules at all. Once I switched to a half-mask fitted with replaceable Type A (A2) cartridges and positioned my extractor vent six inches from the hand rest, that end-of-week respiratory irritation vanished.
Sophia Beed’s note: Keep a small digital timer clipped to your desk lamp for the final activator-to-sealer window. If you swipe your first sealer brush across the nail before that 3- to 5-minute post-activator dry window finishes, trace activator residue will crystallize your brush bristles in seconds.
- Square and Coffin C-Curve Structure Breakdown : Learn how sidewall tapering changes stress distribution during two-week rebalances.
- Natural Nail Anatomy and Keratin Layer Reference : Identify the dorsal plate zones you must protect during e-file debulking.
Dip Powder Lifting Risks and Frequently Asked Questions
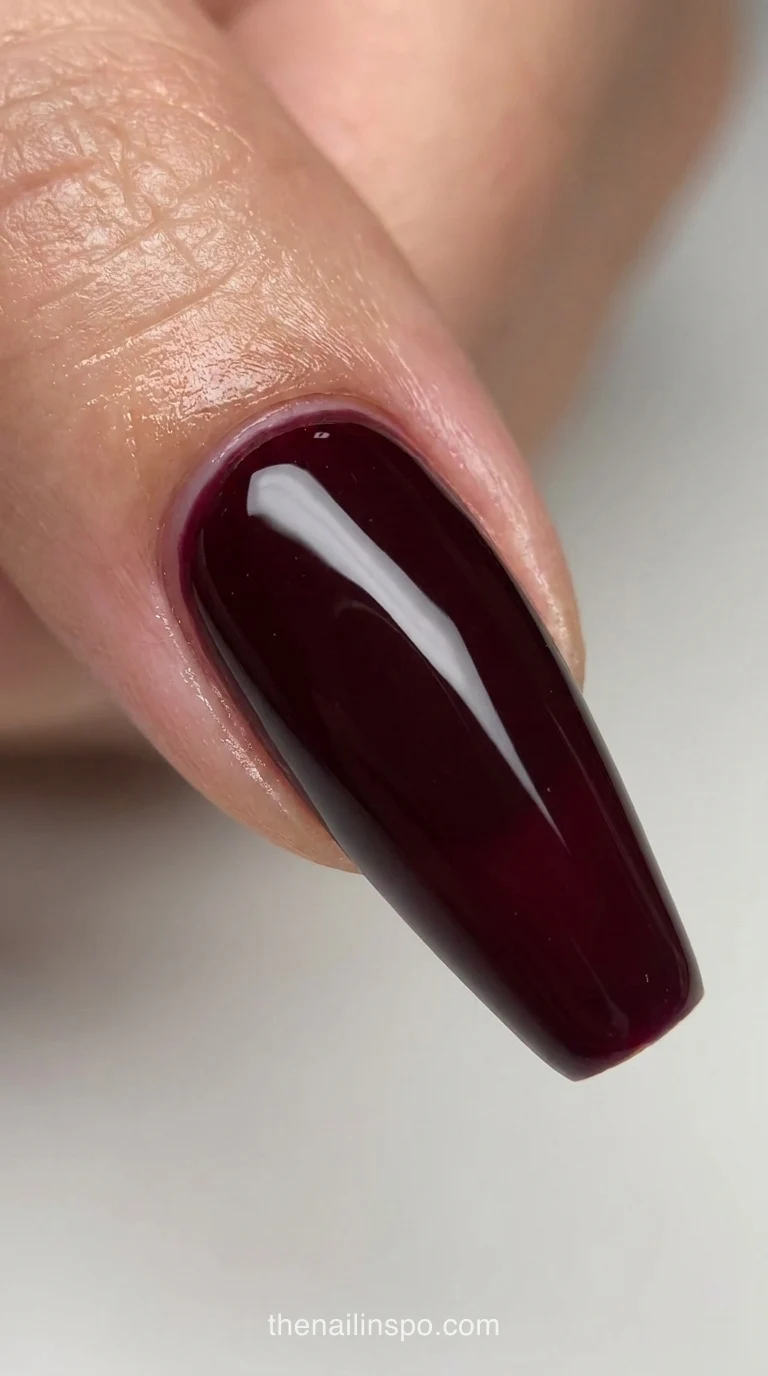
Preventing dip powder lifting starts with eliminating invisible cuticle tissue on the nail plate and keeping uncured resin off the surrounding skin folds. When product touches live skin or sits over oily keratin, the edge separates within days, creating a damp gap where water and everyday debris collect beneath the enhancement.
Last November, a new client came to me convinced she was allergic to dip systems because her overlays popped off whole within a week. Under my magnifier lamp, I could see a translucent film of true cuticle still stretched across a third of her nail plate. Her previous tech had pushed back the proximal fold but hadn’t exfoliated the dead tissue clinging to the plate itself. Once we cleaned the cuticle zone properly, her fills held tight without a millimeter of separation.
Can you transition from dark dip powder to a pale sheer shade during a fill?
Yes, you can switch from dark pigment to a sheer pastel during a fill if your initial set was built over a transparent foundation layer. File away all dark powder until only the clear base remains, then dip one thin pass of milky-white opaque powder before applying your sheer shade to block any faint shadow.
What rotary e-file speed prevents heat friction when debulking dip resin?
Run a medium-grit safety carbide or ceramic bit between 12,000 and 15,000 RPM using long, continuous pulling strokes from the center arch toward the free edge. Slower speeds cause the flutes to chatter and drag against dense resin, while lingering in one spot generates friction heat that stings the nail bed.
Can you backfill a dip enhancement over a horizontal stress crack?
You can repair a shallow surface crack during a backfill as long as the fracture hasn’t reached the natural nail bed or caused bleeding. File a shallow V-shaped groove along the crack line, lay a narrow strip of fiberglass mesh wetted with base resin across the span, and encapsulate it with fine powder.
Why does dip top coat turn matte or wrinkly right after a fill?
Dip sealer turns cloudy or wrinkled when uncured activator liquid remains trapped inside porous powder layers and reacts too fast with the top coat resin. Always wipe the buffed nail firmly with a dry, lint-free pad and allow the full air-dry interval after your second activator coat before applying sealer.
Before your next appointment, add a single tracking line to your client card or home maintenance notes that records the date, the clear base layer count, and which refill cycle you’re currently wearing. Knowing whether you’re sitting on fill number two or fill number four removes all guesswork at the table, letting you prep your rotary bits for a fast rebalance or set out your solvent wraps before anyone sits down.
Comments (0)
No comments yet. Leave a thought below!