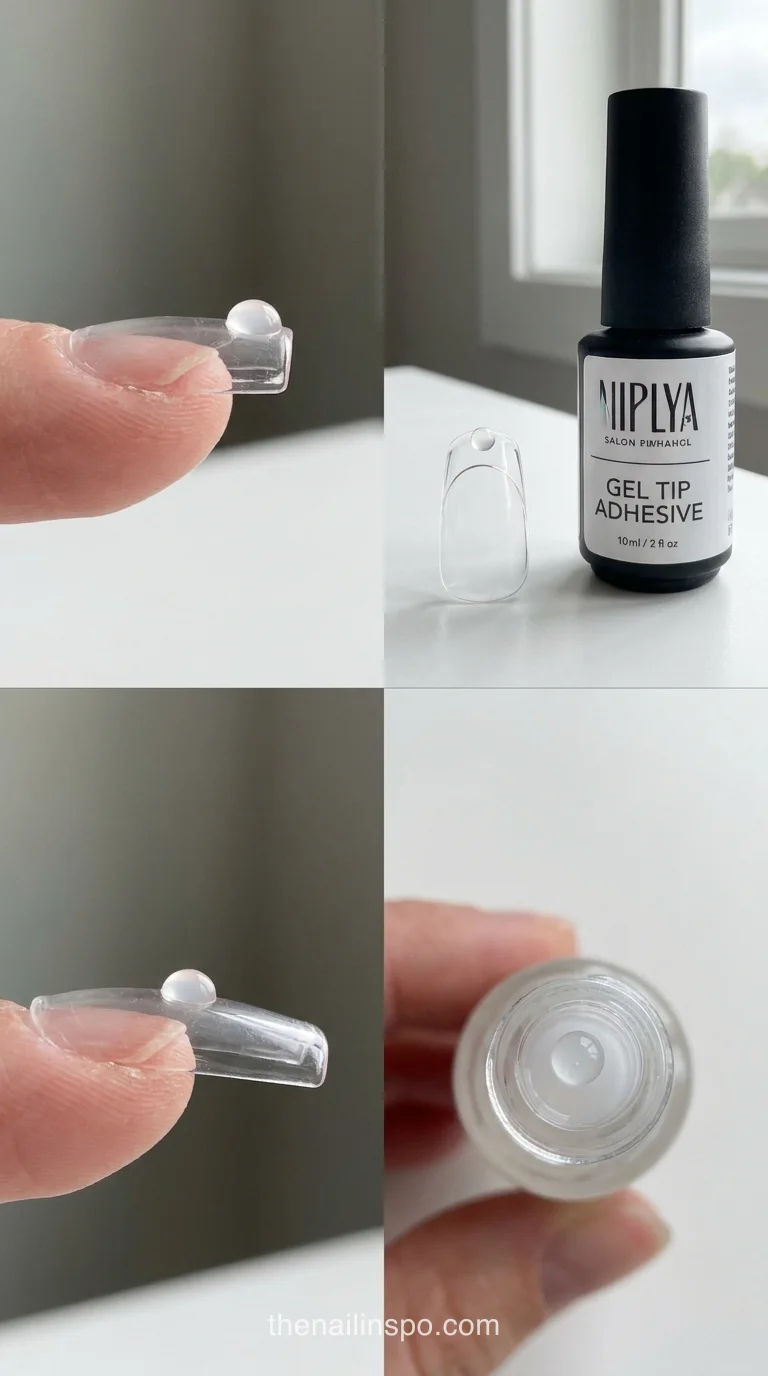
Nail glue for gel is a label, not a single product, and that mix-up sits behind a lot of lifted press-ons. The name covers two chemistries. One is a moisture-cured ethyl cyanoacrylate that sets in roughly 3 to 15 seconds with no lamp. The other is a UV/LED soft-gel tip adhesive that stays wet until it sees 365 and 405 nm light. Pick by what sits on the nail: opaque or pre-painted press-ons want the cyanoacrylate, while clear tips over a bare plate suit the light-cured gel.
Key takeaways- Nail glue for gel covers two incompatible chemistries: a no-light ethyl cyanoacrylate and a UV/LED soft-gel tip adhesive.
- Opaque or pre-painted press-ons block the light a gel needs, which leaves uncured adhesive under the tip.
- A 15 ml bottle of Aprés Extend Gel Non-Wipe at $23.99 yields roughly 8 to 12 full sets.
- Putty-viscosity adhesives stay where you place them, which helps with sidewall spillage and apex bubbles.
- HEMA-free is a formulation claim, not a guarantee against contact dermatitis.
Nail Glue for Gel Means Two Different Products
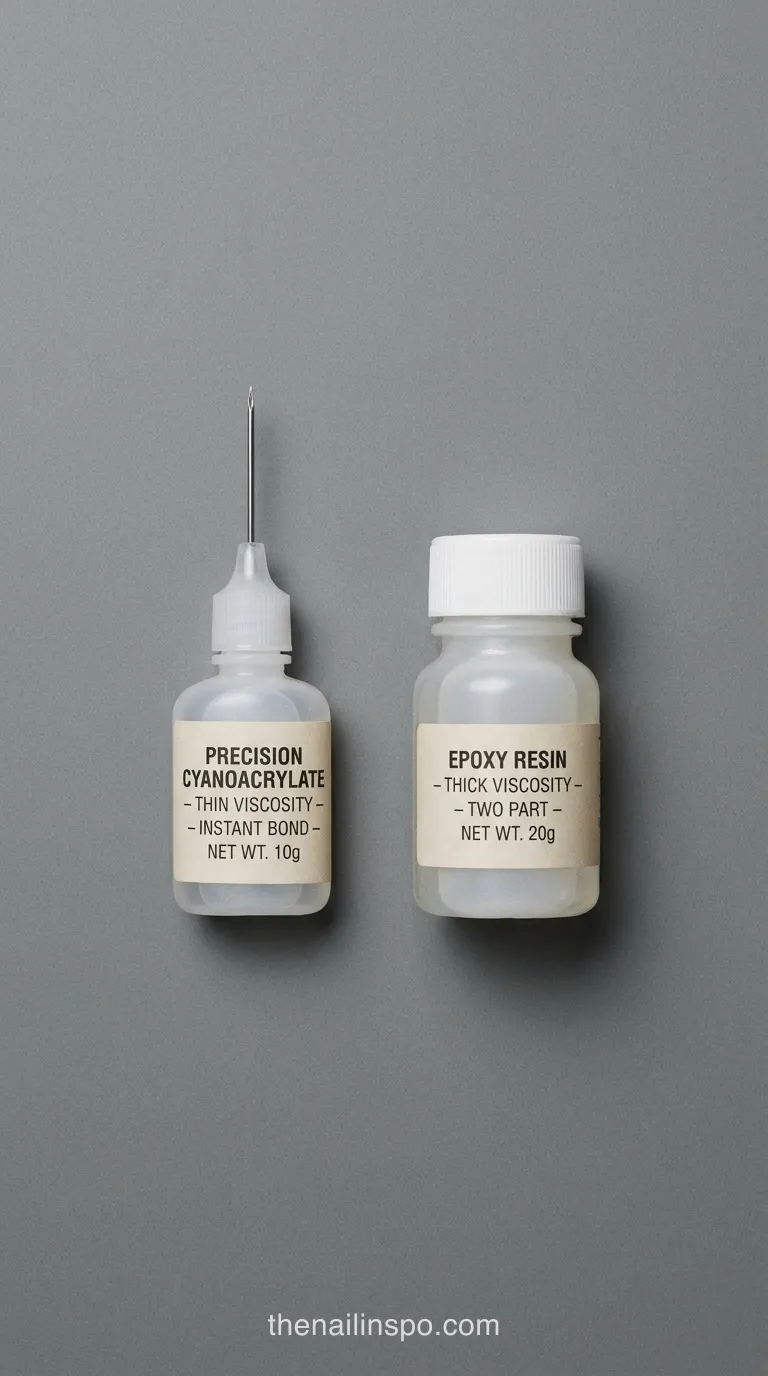
The name is a marketing shortcut. Shop shelves group anything that holds a press-on, so a cyanoacrylate and a lamp-cured gel can sit side by side under the same label. The cure instruction on the bottle tells you which chemistry you’re holding, and it’s the one line worth reading before you buy.
Ethyl Cyanoacrylate Sets in Seconds
Ethyl cyanoacrylate cures with moisture in the air, so it needs no light at all. That speed holds a press-on in place, and it also means you can’t slide the tip around once it touches down. Its bond to plastic and painted surfaces is rigid, which is why it suits pre-colored press-ons. Cheap and quick, but there’s almost no working time, so test-fit on a spare tip first.
How Do You Tell Which Glue You Have?
Read the cure line. If the bottle mentions a lamp, a wavelength, or a curing time under light, it’s a gel adhesive. If it tells you to press and hold for a set time, it’s cyanoacrylate. Texture is a weaker clue: putty-thick gels usually cure under light, but thick cyanoacrylate formulas exist too, so don’t rely on feel alone.
 Read NextHow Often to Infill Acrylic Nails: Secrets to Avoid!
Soft Gel Tip Adhesive: Where It Earns Its Price
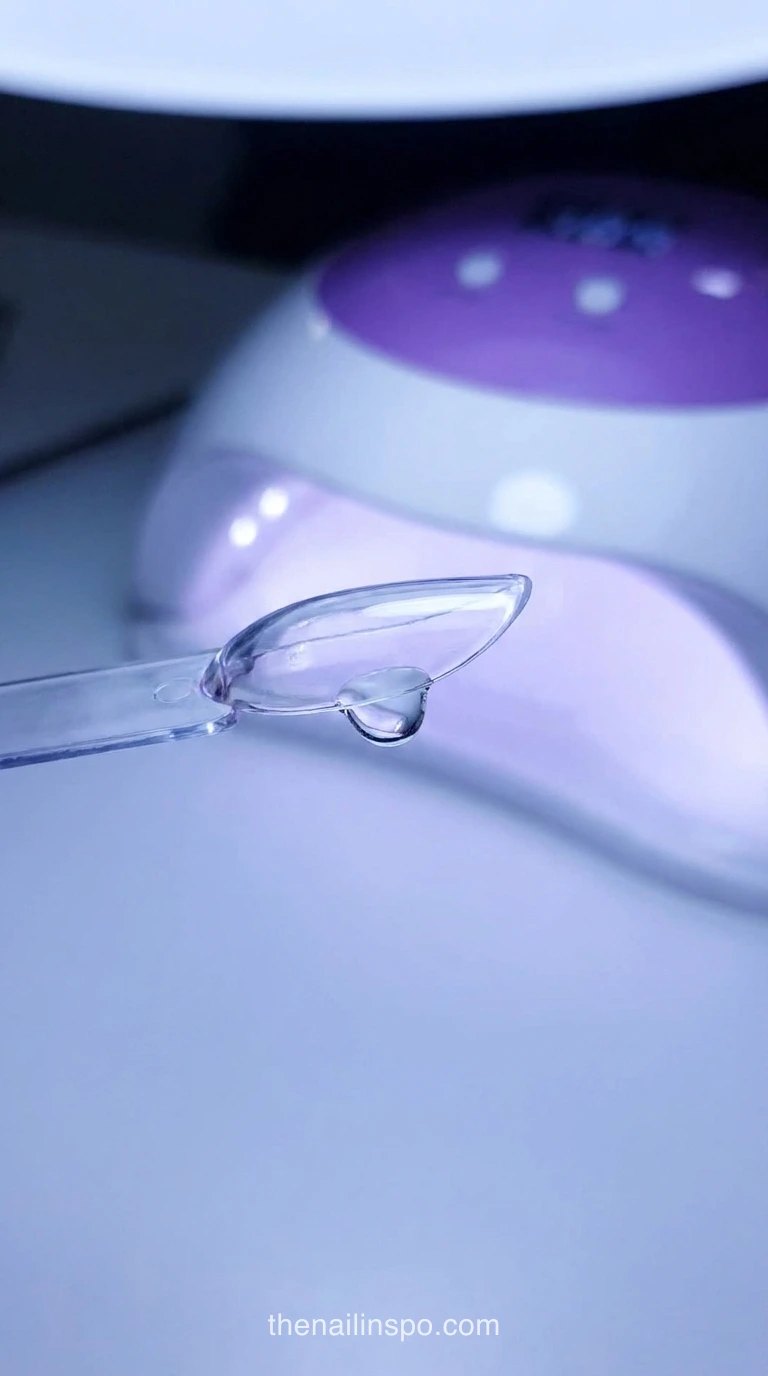
Soft gel tip adhesive earns its price when you want a gel bond you can cure on your own schedule. Aprés Extend Gel Non-Wipe is the one to start with, since the brand says it cures in 30 seconds under LED without a tacky underside layer.
| Option | Price | Cost per set | Verdict |
|---|---|---|---|
| Aprés Extend Gel Non-Wipe, 15 ml | $23.99 | About $2 to $3 | Best value for regular home sets, if the tip is clear. |
| Aprés Extend Gel Novice | $22.99 | Not calculated, since yield depends on bead size | Pick it for putty control on sidewalls, not for the lowest price. |
| Salon gel extensions | $65 to $150 to start, then $40 to $80 per fill | Recurs every 2 to 3 weeks | Right for sculpting and repairs you can’t do yourself. |
The bottle wins on cost, and the gap grows every time you’d otherwise book a fill. The salon wins when a tip needs reshaping or a lifted edge needs repair, since no bottle can rebuild an arch you’ve already lost.
Aprés Extend Gel Non-Wipe Cost in 2026
The 15 ml bottle is the easy entry point. Yield depends on how thick you lay each bead, so treat the set count as a planning number rather than a promise. It doesn’t leave a tacky underside layer, so lint and dust have less to grab onto beneath the free edge. If you do more than a few sets a month, the bigger bottle is the sane buy, though check the current price since it moves.
Putty Gels for Sidewall Spillage
Runny gel runs into the sidewalls before it cures, and that’s where most spillage starts. Putty-viscosity adhesive sits where you put it, which is the whole point. Kokoist Gelip Bond Mochi is the budget pick at $15.00, and its soak-off runs 5 to 10 minutes, so removal stays quick.
Sophia Beed’s note: If the glue runs before you can seat the tip, you’re using the wrong viscosity, not the wrong technique. Swap the bottle before you blame your hands.
Why Gel Glue Lifting Starts Under Opaque Press-Ons
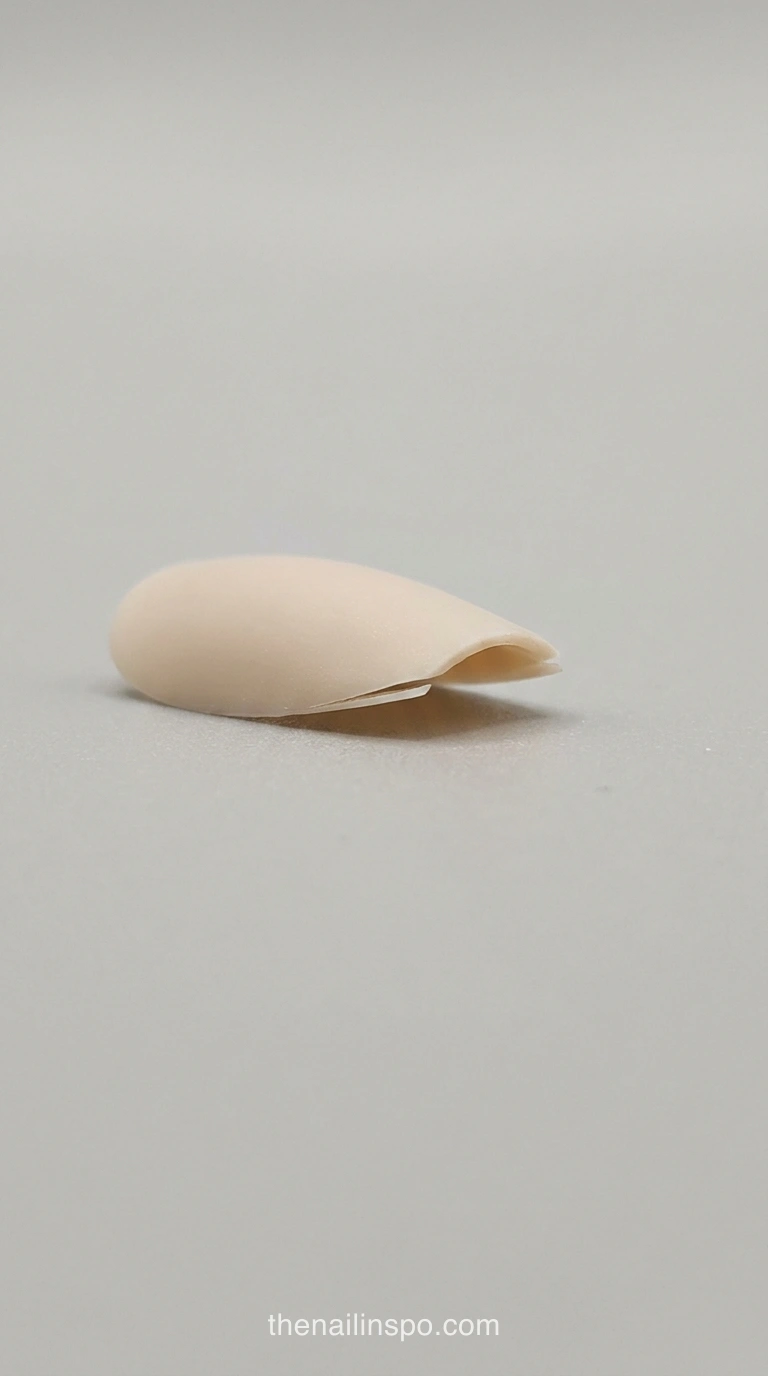
Lifting often starts at the free edge, and the cause is frequently the cure. Opaque or pre-painted press-ons block the light, so the gel underneath never fully polymerizes. Technicians report that gel can feel hard at about half cure, which means a tip can seem solid while the layer beneath stays soft and unbonded.
UV Gel Press-On Nails Under Opaque Tips
Light has to reach the adhesive to cure it, so an opaque or pre-painted tip is the main problem. A clear tip over a bare plate usually cures fine. If the color blocks the lamp, switch to a cyanoacrylate or a press-on glue made for opaque tips. A 10-second flash cure can make things worse, because the top skins over while the bead stays wet.
Why Tips Lift From the Free Edge
The free edge takes the most stress, so a thin bond there gives first. Tips lift when the glue is thin at the edge or when the cure never reached the underside. Dust under the tip before it sets causes it too. If your tip is clear, your bead is thin, and the cure is complete, this section probably doesn’t describe your lift.
 Read NextWhy Do Acrylic Nails Lift? 6 Secrets to Stop It Now
Apex Air Bubbles: Fix the Bond Before the Cure
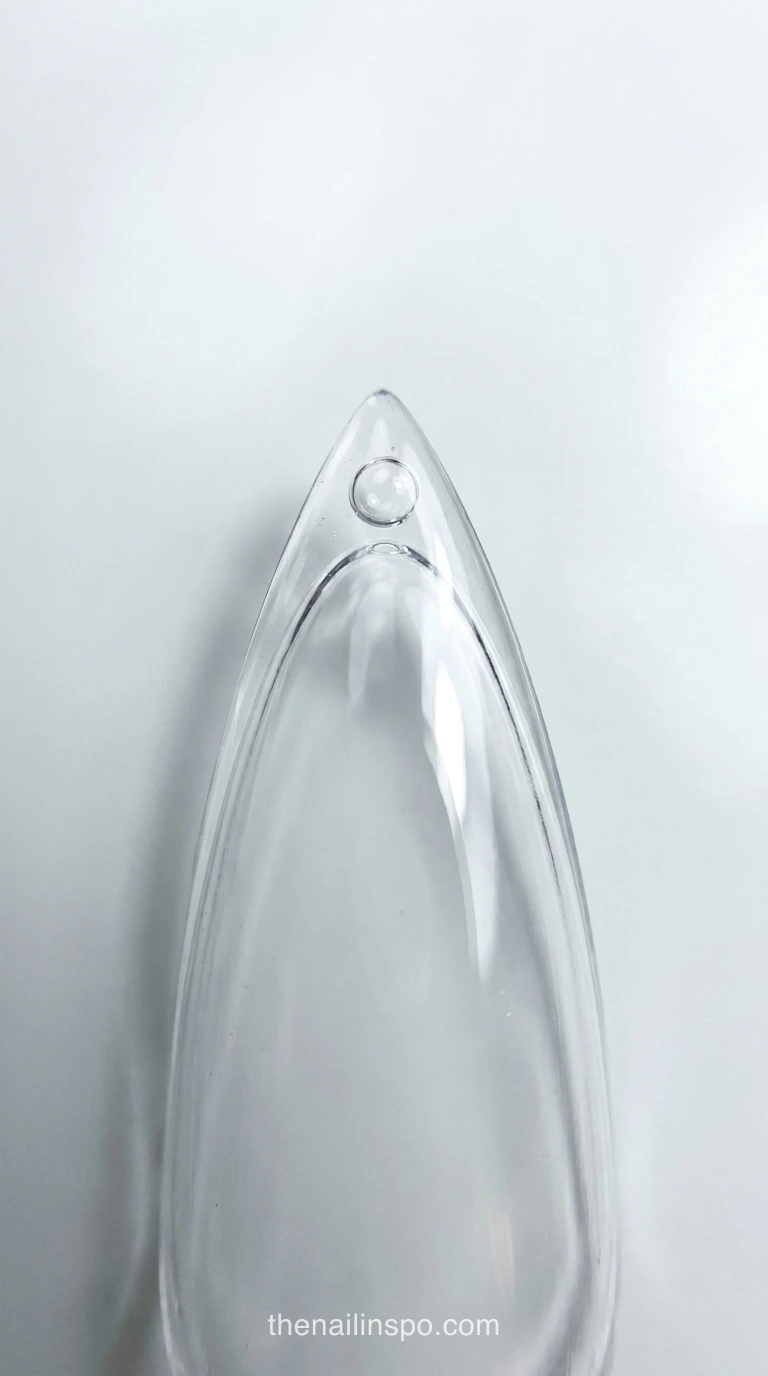
Apex bubbles come from glue that runs before the tip seats, plus air trapped during the press. Switch to a putty-viscosity adhesive and size up one tip to flatten the contact. Follow the order below, since skipping prep is how bubbles come back.
- Prep the plate: Push back the cuticle and wipe away all dust before any adhesive touches the plate.
- Pick a putty adhesive: Choose a putty-viscosity adhesive if runny gel keeps running into the sidewalls. Kokoist Gelip Bond Mochi and Aprés Extend Gel Novice are the two options worth testing.
- Size up and press: Try one size larger if the apex keeps trapping a bubble, then press from the center toward the free edge to push air out.
- Cure to the bottle: Cure for the full time on the bottle under the correct wavelength. For cyanoacrylate, skip the lamp and hold the tip for the set time instead.
Sophia Beed’s note: Catch the bubble while the glue is still wet. Once it cures under the lamp, your only fix is filing it out and starting over.
Sizing Up Tips for Flatter Nail Beds
A flatter bed leaves a gap at the apex, and that gap is where bubbles collect. One size up seats the tip higher in the middle, so the glue has room to sit without pocketing air. Expect to file more side length than you’d like, and test-fit the tip dry before you add any adhesive.
How to Remove Soft Gel Tips at Home
Soft gel tip removal starts with filing the top layer until it shines, so the acetone can reach the glue. Soak the tip in 100% acetone until the bond softens, then ease it off and wipe the residue. Don’t pry the tip, since pulling on a softened bond can tear the natural plate.
 Read NextHard Gel vs Acrylic: Which One Is Best for You?
Is Gel Nail Glue Safe for Skin Contact at Home
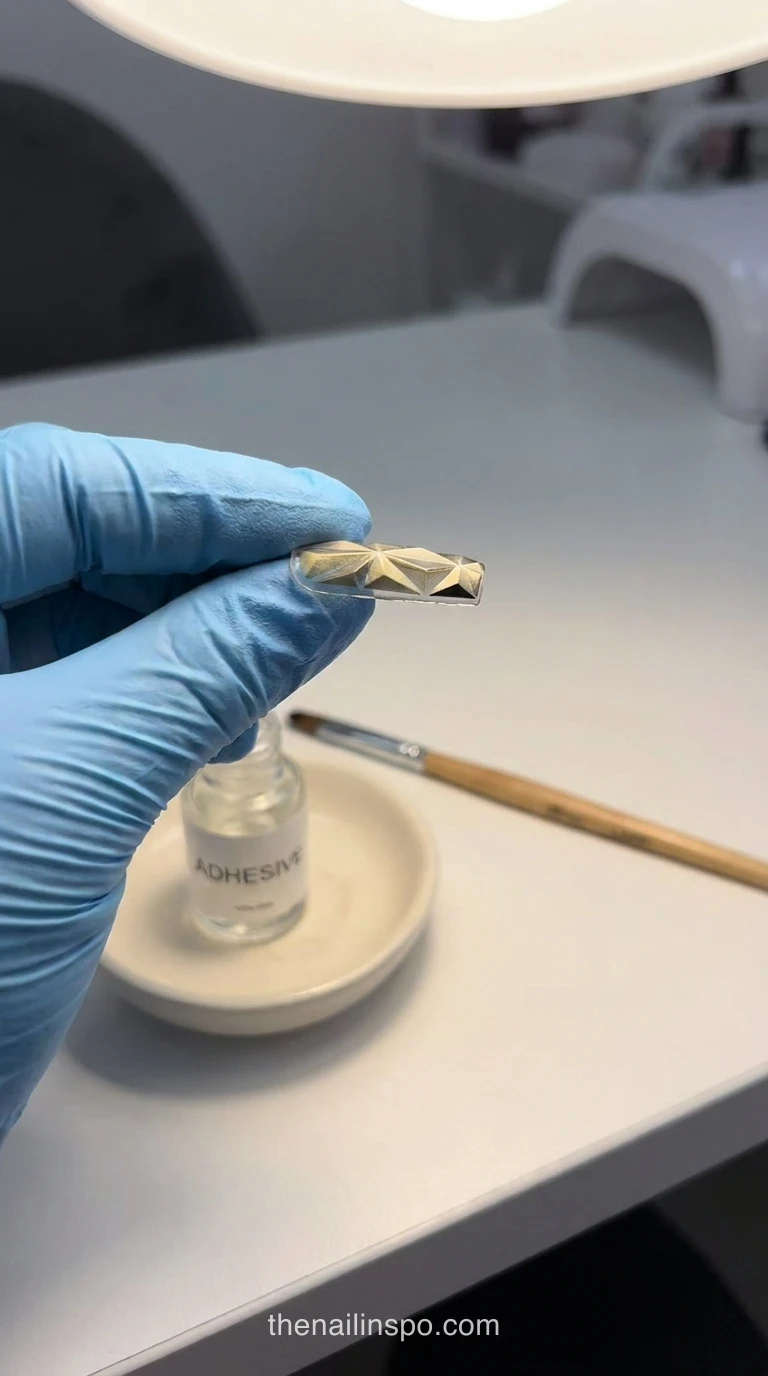
The safety question is where the marketing runs ahead of the chemistry. Free-from labels describe what’s left out of a formula, not how skin reacts to what’s left in. Read them as a starting point, then watch your skin.
HEMA-Free Does Not Mean Hypoallergenic
HEMA is a methacrylate known to sensitize skin, so HEMA-free gel glue removes one common trigger. It doesn’t remove them all. Many HEMA-free formulas still use methacrylates and photoinitiators, and those can trigger allergic contact dermatitis in some people. Aprés markets its Non-Wipe formula as HEMA-free, which is a formulation claim, not a skin safety result.
EU rules have pushed TPO out of nail gels, and brands moved to replacements like TPO-L and BAPO. Those are still photoinitiators, so a label change doesn’t settle the skin question. Keep adhesive off your cuticles, and glove up if you’re doing many sets in a row.
Recommended for you- pincer nails guide: curved shapes lift at the same edge, so check the arch first.
- cute nails guide: shorter shapes give glue less free edge to fail on.
Does Gel Glue Need UV Light? Common Questions
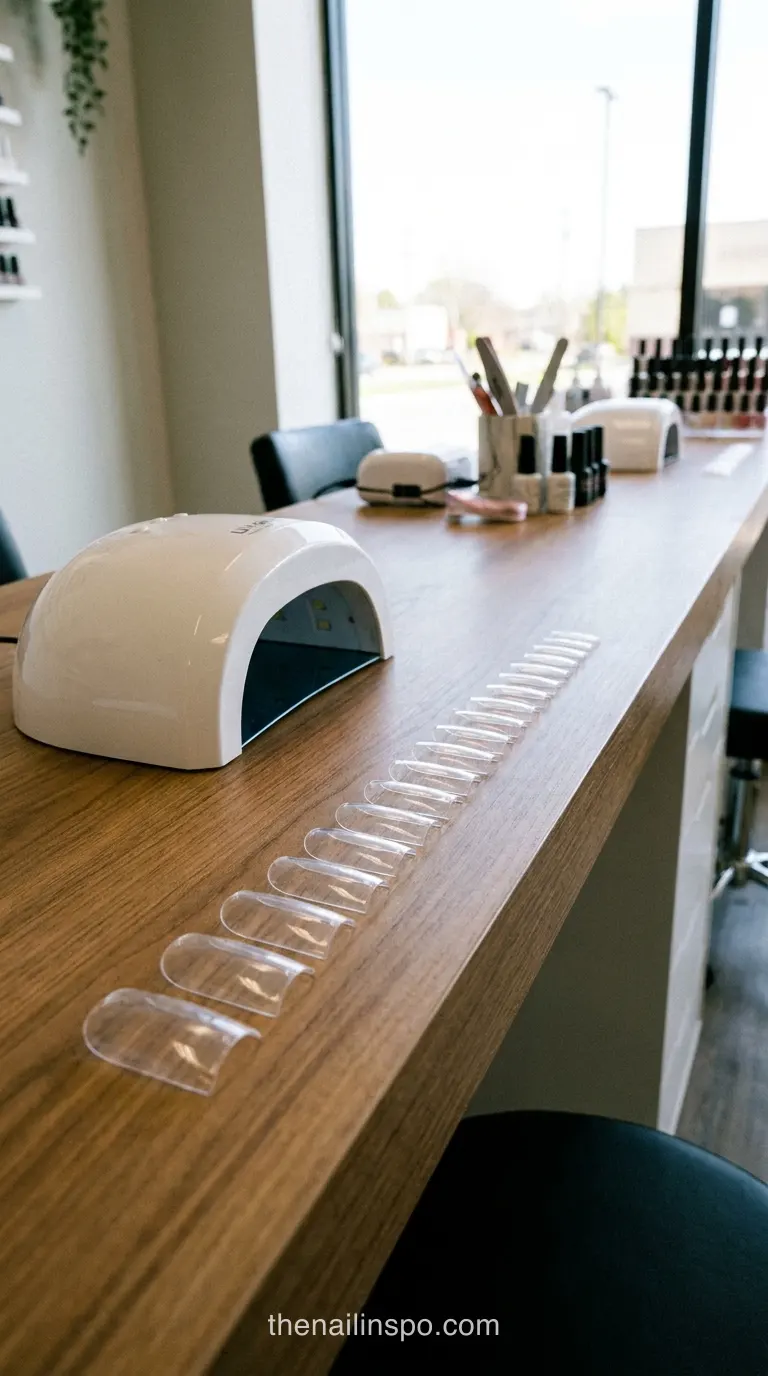
Can I use a regular nail lamp for soft gel tip adhesive?
Only if it matches the wavelength printed on your bottle. Lamps are sold as UV, LED, or both, and an underpowered lamp can leave the inside of a thick bead soft even when the top looks cured. Check the bottle, then run a test tip on a spare nail before you trust a new lamp. Mismatched light is one of the quieter reasons people blame the glue.
Why does my tip feel tacky after curing?
Usually the adhesive didn’t cure all the way through, which often comes from an opaque tip or a bead that was laid too thick. Non-wipe formulas are designed to avoid a tacky underside layer, but they still need full light exposure, so the surface only stays tacky when the cure fell short. Wipe it, then check the top again before you file. If it stays sticky, the bond underneath is probably soft too.
How long does soft gel tip removal take?
A professional removal usually runs 30 to 40 minutes. The 15-minute 100 percent acetone soak covers only 38 to 50 percent of that window, and the rest goes to filing and handling. Don’t file hard to speed things up, since over-filing thins the natural plate and thin plates take a long time to recover.
Can I mix cyanoacrylate and gel adhesive on one set?
Better not. The two cure by different routes, one by moisture and one by light, so there’s no shared curing step to bring them together. Pick one system per set and keep the bottles separate in your kit. Mixing them mostly gives you a seam you can’t trust.
Next time a label says it’s glue for gel, read the cure line before you open the bottle. If the instructions want a lamp, check whether your tips are clear enough for the light to reach the plate. If they’re opaque or pre-painted, a cyanoacrylate or a putty adhesive will save you a second set. Try one tip on a spare nail first, then check the free edge after a full day of wear.
Comments (0)
No comments yet. Leave a thought below!