By Sophia B, senior nail technician and educator with 9+ years in London salons. Published September 27, 2026. Last updated September 27, 2026. Based on salon practice and published research; not medical advice, and not a substitute for a dermatologist if you have a diagnosed nail condition, infection or allergy.
The cured liquid gel itself does not damage nails; once polymerized, it’s a stable plastic. Damage typically stems from improper application or removal, such as over-filing during prep, peeling off the coating, e-file misuse, or intense lamp heat spikes, rather than the gel itself.
Key takeaways- Fully cured builder gel is chemically stable, so most gel nail damage traces back to prep, removal and heat rather than the product in the bottle.
- Peeling gel off lifts the top layers of the natural nail plate away with it.
- Nails don’t need a break to breathe, because the nail plate gets its oxygen from the blood supply underneath, not from the air.
- Rebalancing builder gel over a retained thin layer avoids re-filing and re-soaking the natural nail every appointment.
- The European Union banned the photoinitiator TPO from nail products on September 1, 2025, forcing gel brands to reformulate.
Does Liquid Gel Damage Nails, or Is It the Service?
It’s the service. Builder gel that’s cured properly under a matched lamp doesn’t degrade the nail plate on contact. What decides the state of your nails is how much keratin gets filed off in prep, how the old set comes off, whether the lamp suits the gel, and how thick each layer goes on.
Here’s the position I’ll defend to anyone: a careful tech using a mid-range gel does less harm than a rushed tech with the priciest bottle on the shelf.
That doesn’t mean long-term wear is consequence-free. Small studies on regular gel wearers have reported lower levels of sulfur-rich amino acids, cysteine and methionine, in the nail plate. Those are the building blocks of the disulfide bonds that keep keratin hard. How much of that drop comes from the coating itself versus years of filing and acetone isn’t settled, and I’d be wary of anyone who claims it is.
 Read NextWhy Do Acrylic Nails Lift? 6 Secrets to Stop It Now
How Can You Assess Nail Health Before Gel Application?
Before applying liquid gel, a thorough nail health assessment is crucial to prevent damage. Examine the nail plate for signs of thinning, discoloration, or existing onycholysis. A skilled technician should inquire about previous nail services, allergies, and any discomfort. Clients should communicate concerns about brittleness or sensitivity. This consultation ensures the natural nail is strong enough for gel, guiding decisions on prep intensity and product suitability, minimizing risks like heat spikes or allergic reactions.
Thin Nails After Gel: Product or Prep?
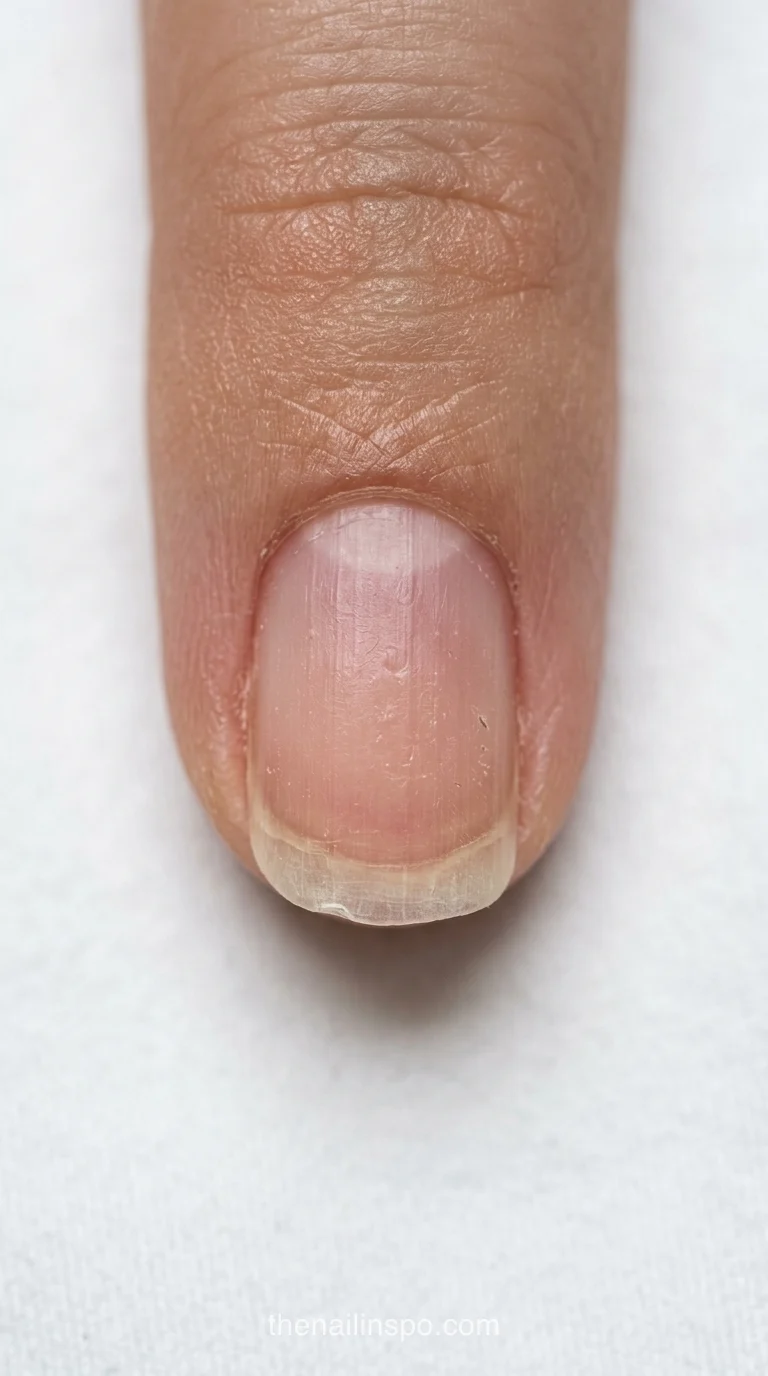
Thin nails after gel are almost always a prep problem. The natural plate only needs its shine removed before application, a few light strokes with a 180 grit file or a soft buffer. Anything beyond that removes keratin the gel never needed for grip, and that keratin takes months to grow back out.
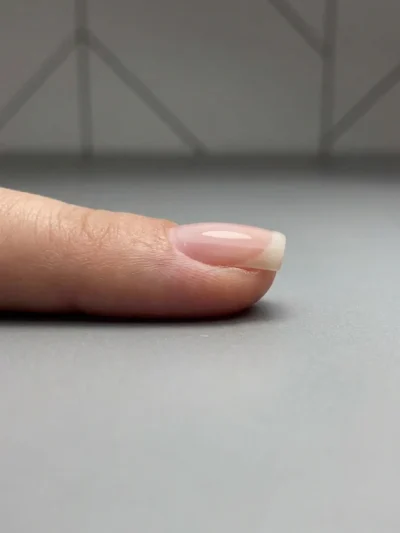
Most of the paper-thin, bendy nails that land in my chair come from salons that prep every fill like it’s a brand-new set. You can see it at the tip: a translucent band where the plate has been ground down lap after lap.
Gel Nails Lifting From the Nail Bed
Two different things get called lifting. Product lifting is gel peeling away from the plate, usually from oils or cuticle left on the nail. Onycholysis is the nail plate itself separating from the bed, visible as a widening white area under the nail. The second one is the one to take seriously.
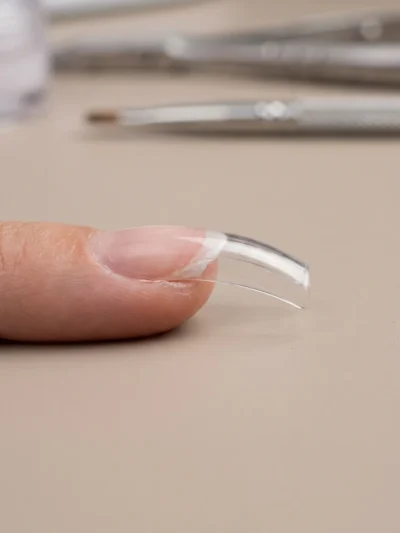
In salon clients, I see it most after heat trauma on an over-filed plate, or on long extensions where the apex sits too far back and every knock levers the free edge upward. Shortening the length and moving the apex fixes the leverage. If separation keeps spreading or the skin around it looks inflamed, that’s a question for a dermatologist, not a nail tech.
What Specific Metrics Define Gel Nail Health and Service Standards?
| Metric | Value | Reference / Industry Baseline |
|---|---|---|
| Prevalence of HEMA allergy | 2.4% of nail product users | British Journal of Dermatology, 2020 |
| Average cost of gel nail rebalance | $30-$60 | Industry average, 2024 |
| Typical temperature of exothermic spike | Up to 50-60°C (122-140°F) | Nail industry research/studies |
 Read NextHard Gel vs Acrylic: Which One Is Best for You?
What Are the UV Exposure Risks and Safety Measures for Nail Lamps?
While UV LED nail lamps are essential for curing gel, understanding UV exposure risks is important. Although the UV dose is low, cumulative exposure can be a concern. To mitigate this, clients can apply broad-spectrum sunscreen to their hands or wear fingerless UV-protective gloves during curing. Technicians should ensure lamps are matched to the gel system for efficient curing, minimizing exposure time. Regular lamp maintenance and bulb replacement also ensure optimal performance and safety.
What a UV LED Nail Lamp Does to Your Keratin
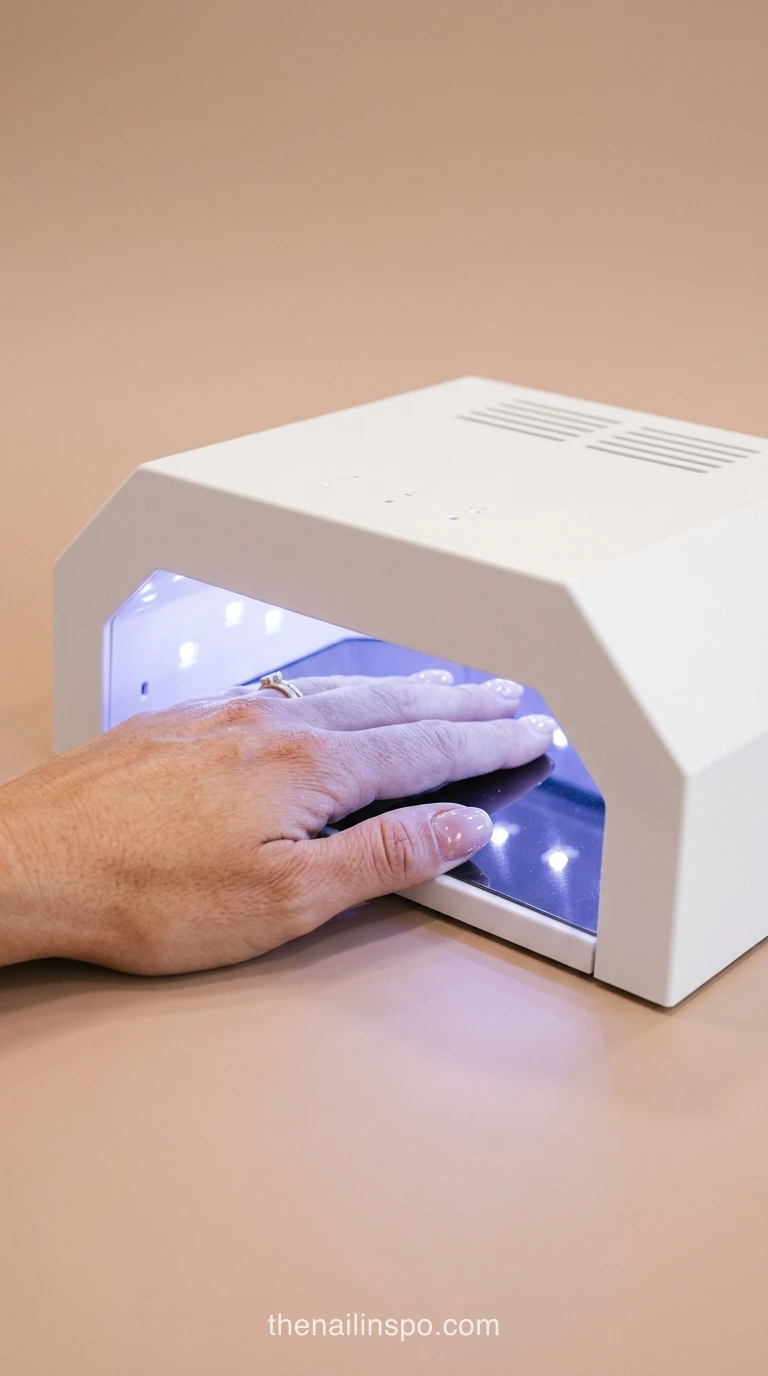
A UV LED nail lamp triggers photopolymerization. Photoinitiators in the gel absorb the light and start a chain reaction that links liquid monomers into a solid polymer. That reaction gives off heat. So the lamp isn’t what burns you; the curing gel is, and how intense that gets depends mostly on layer thickness and whether the lamp matches the gel.
Why Gel Heat Spikes Burn During Curing
That sharp burn mid-cure is an exothermic spike, and it peaks when a thick layer cures fast under a powerful lamp. On an over-filed plate there’s less keratin insulating the nail bed, so the same spike hurts far more. Thinner layers, a brand-matched lamp, a low-heat or ramp mode, and pulling the hand out when it stings all bring it down.
Sophia Beed’s note: If a client flinches, I tell them to take their hand out right away, count to ten, then go back in. Nobody gets points for toughing it out, and every spike you sit through is heat the nail bed absorbs. On thin or recovering nails I cure with a lamp’s low-heat setting every time.
HEMA, Methacrylate Residue and Allergy Risk
Gel allergies come from uncured monomers, HEMA and other methacrylates, touching skin. Fully cured gel isn’t the trigger. Under-curing leaves reactive material behind, and so does product flooded onto the cuticle, which is why I’m fussy about lamp matching and clean application.
Some imaging research has also reported unreacted methacrylate deposits within the nail plate of regular gel wearers, though the long-term meaning of that isn’t clear yet. What is clear is that allergic sensitization, once it develops, generally doesn’t go away. Itching, redness or swelling around the nails after a service is a reason to stop and get it checked.
Do Nails Need a Break From Gel?
Not to breathe. The nail plate is dead keratin and gets oxygen from the blood supply beneath it, never from the air. That soft, chalky feel after removal is moisture trapped under the coating, water that normally escapes through the plate, and it usually evaporates within 24 to 48 hours.
I’d like to see the breathing myth retired for good. A break does make sense if the plate is over-filed or you’re reacting to product, because then time lets damaged keratin grow out. But judging your nails the morning after removal tells you almost nothing.
Builder Gel Rebalance vs Full Soak-Off: Which Is Gentler?
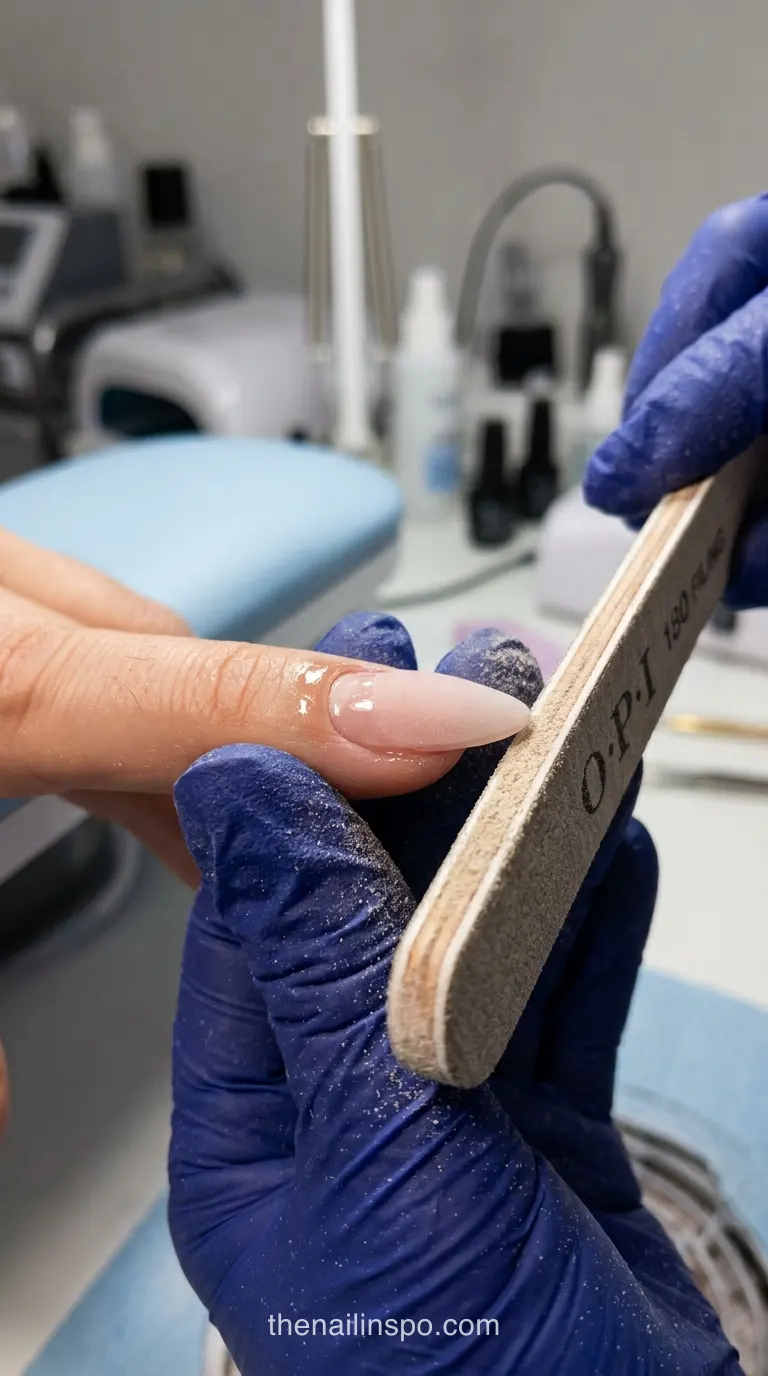
A builder gel rebalance is gentler. The tech files down the old gel but leaves a thin layer on the nail, then rebuilds the structure over the growth. Your natural plate never gets re-exposed, so it skips another round of surface filing and another acetone soak that dries keratin out.
| Method | What it does to the natural plate | Time and cost | Verdict |
|---|---|---|---|
| Rebalance over a thin retained layer | The plate stays covered and only gel gets filed, so keratin loss is close to zero. | Usually quicker and cheaper than a new set, though salon pricing varies. | The best default for anyone wearing builder gel continuously. |
| Full soak-off every appointment | The plate is re-prepped and soaked in acetone each visit, which dehydrates keratin over time. | Adds removal time to every appointment. | Fine occasionally, harsh as a monthly routine. |
| Peeling or picking the gel off | The top layers of keratin come away bonded to the gel. | Costs nothing upfront and months of regrowth afterward. | Never, under any circumstances. |
| E-file removal down to the natural nail | Friction heat and grooves are likely when bits are angled or run too fast. | Fast in skilled hands. | Only if the tech stops before reaching keratin. |
The row clients underestimate is peeling. They assume it’s the gentle option because no tools touch the nail, when it’s the only method that guarantees keratin loss.
E-File Damage and the 5,000 RPM Rule
E-file damage shows up as rings of fire: curved grooves cut into the natural plate when a bit is tilted into the nail or spun too fast. Technicians widely treat roughly 5,000 RPM as the ceiling anywhere near natural keratin, with the bit held flat. Those grooves don’t buff out. They grow out, slowly.
I use a carbide bit on product only and take the last film of gel off by hand. It adds a few minutes per set, and I’d rather lose the minutes than cut a groove into someone’s nail.
Rebalance Cost and Time vs a New Full Set
A full set of liquid gel nails guide typically costs $45.00 to $85.00 in US salons and takes 60 to 90 minutes. A rebalance is normally priced below that because the structure already exists. If your gel is intact with a few weeks of growth, book a rebalance. If lifting covers more than a small patch, or you want a different shape, removal is the better call.
Growth also shifts the stress point forward, which is why the rebuild matters as much as the fill. My guide to apex placement on builder gel shows where the apex should sit before and after a rebalance.
What Specific Brands and Tools Are Essential for Safe Gel Application?
Achieving safe and durable gel nails often relies on specific product choices and tools. Reputable brands like OPI, CND Shellac, Gelish, or Kokoist offer formulations designed for optimal curing and wear. Technicians utilize various e-file bits, such as ceramic or diamond barrel bits for bulk removal and cone bits for cuticle work, ensuring precision. A matched 48W LED lamp is crucial for proper photopolymerization, adhering to standards like those set by EU Cosmetics Regulation to minimize uncured monomer exposure and potential allergies.
Gel Nail Removal Without Thinning the Plate
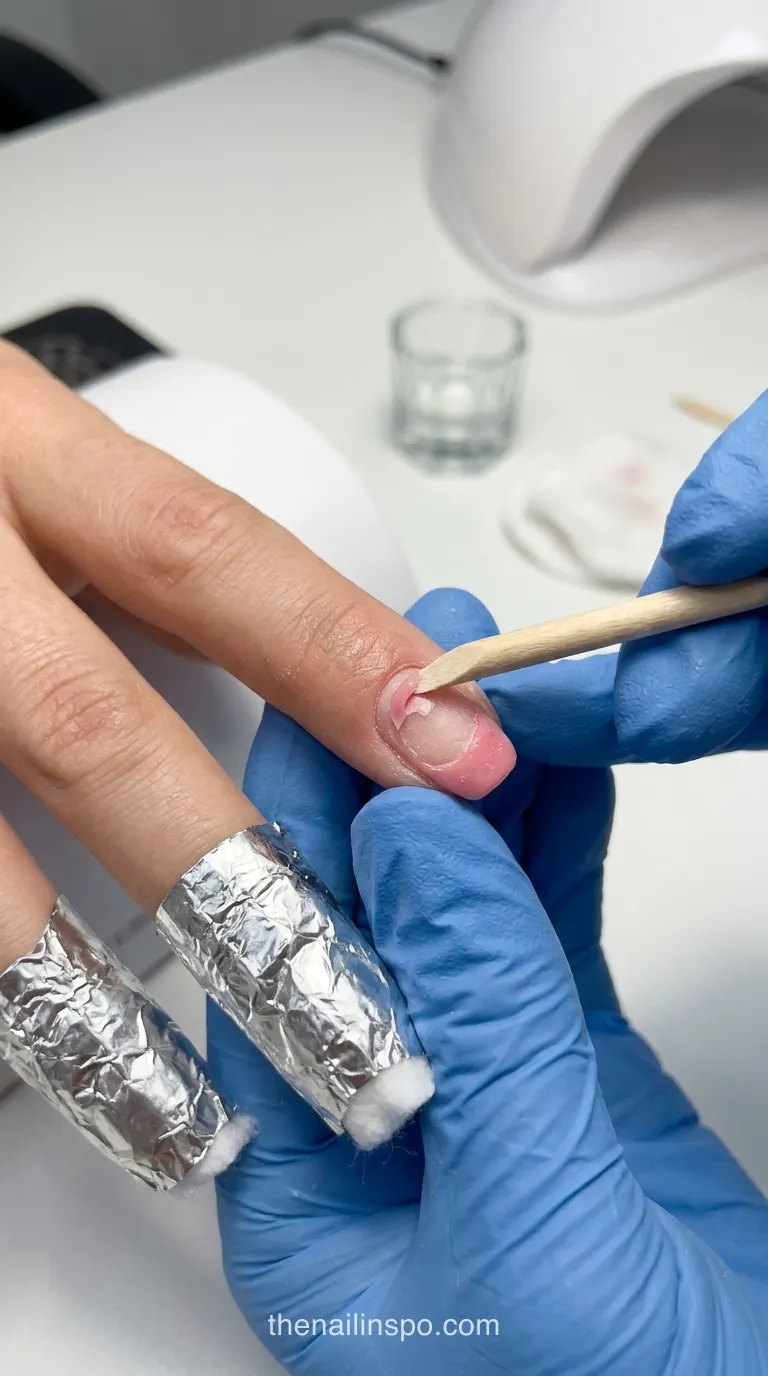
Safe gel nail removal means the natural nail is never the thing being filed. You file gel, soak only formulas designed to soak, and push softened product off instead of scraping. Hard builder gel doesn’t dissolve in acetone at all; it gets filed down to a thin layer and either rebalanced or grown out.
Step 1: Confirm which gel is on the nail
Soak-off builder gel softens in acetone. Hard builder gel does not, and soaking it only dries out the skin. If you don’t know which you have, ask the salon that applied it before you start.
Step 2: File off the top layer
Use a 180 grit hand file to remove the top coat and most of the bulk. Keep the file flat and stop once the gel looks dull and thin across the whole nail.
Step 3: Soak soak-off formulas only
Oil the surrounding skin, then wrap each nail in a cotton pad saturated with pure acetone and cover it with foil for 10 to 15 minutes.
Step 4: Push, never scrape
Slide an orangewood stick along the nail in the direction of growth. If the gel resists, rewrap for five more minutes instead of forcing it.
Step 5: Buff lightly and oil
Smooth any leftover film with a soft 240 grit buffer, then apply cuticle oil. Repeat the oil twice a day for the following week.
Sophia Beed’s note: When clients remove at home, I tell them to stop filing the moment the surface looks evenly matte. Chasing the last faint streak of product is exactly how thinning starts, and a trace of gel does no harm.
How to Repair Nails After Gel Comes Off
You can’t repair damaged keratin. You can only protect it while healthy nail grows out from the matrix, which takes roughly four to six months for a full fingernail. Keep the length short, oil daily, stop all surface filing, and consider a thin protective overlay if the tips keep splitting.
That last suggestion surprises people. For most of my clients with splitting tips, I’d choose a thin, well-applied overlay over bare nails, because bare damaged nails snag and tear, and each tear sets the grow-out back.
 Read NextNail Apex Placement: 6 Best Steps for the Perfect Set
TPO Photoinitiator Ban: What Changed for Gel in 2026
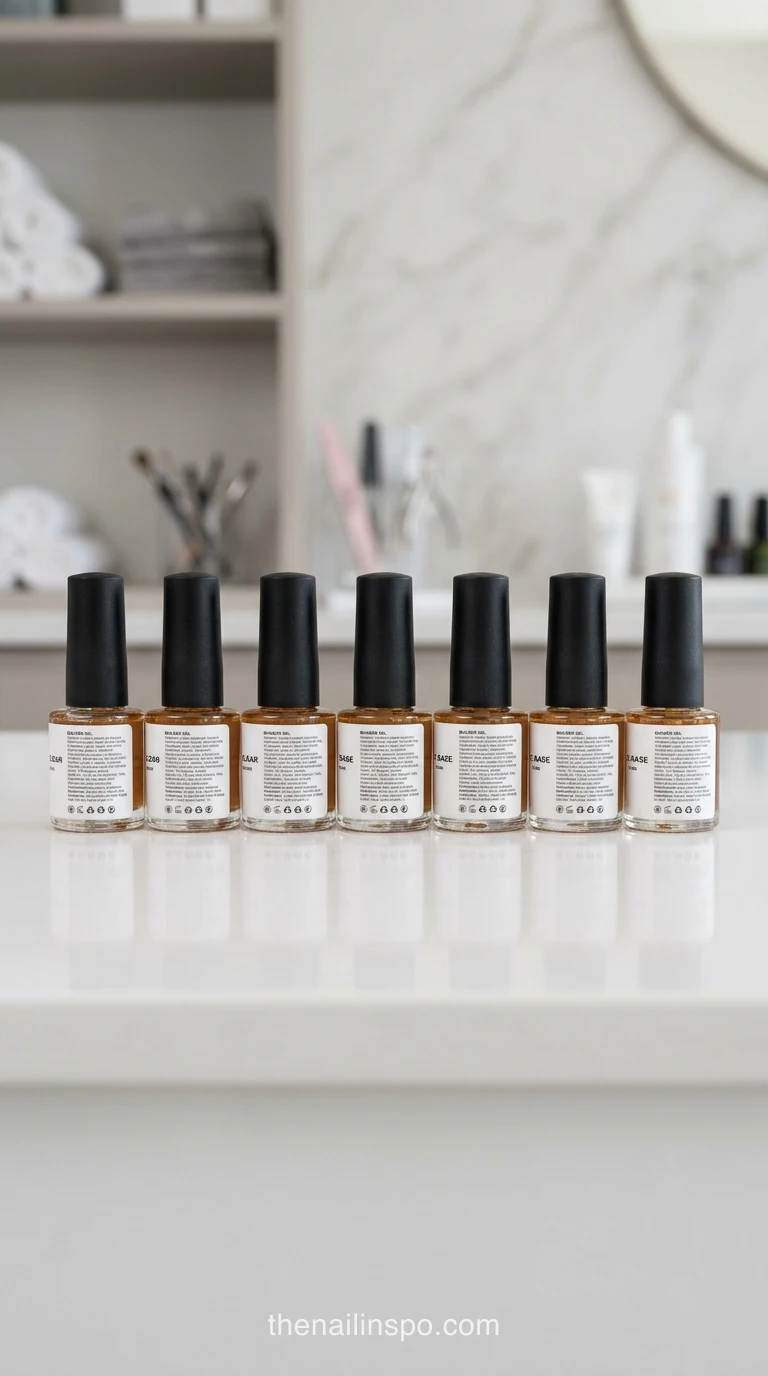
TPO (trimethylbenzoyl diphenylphosphine oxide) was one of the most common photoinitiators in gel. The European Union banned it from cosmetic products on September 1, 2025, after classifying it as toxic to reproduction. Brands selling in Europe had to reformulate, and salons had to clear old stock.
Context matters here. The ban rests on a hazard classification, not on evidence that cured gel harmed salon clients. The practical fallout is lamp compatibility: replacement photoinitiators can respond to different wavelengths, so an older lamp paired with a reformulated gel may under-cure. I now recheck each brand’s lamp guidance whenever a formula changes, because last year’s advice isn’t guaranteed to apply.
Should US Clients Care About the EU Ban?
Indirectly, yes. The EU rule doesn’t cover products sold in the US, and at the time of writing there’s no equivalent US restriction. But many major brands reformulated globally rather than run two formulas, so you may already be wearing TPO-free gel. If you want to know, ask for the ingredient list rather than relying on marketing.
Recommended for you- Apex placement on builder gel: see why a misplaced apex drives lifting and breaks.
- How to file natural nails without thinning them: the prep technique that protects your plate before gel.
Frequently Asked Questions About Gel and Nail Health
How long should you take a break from gel nails?
Breaks from gel nails are beneficial if the nail plate is over-filed or reacting to product, allowing damaged keratin to grow out. Healthy nail regrowth takes approximately four to six months for a full fingernail, during which protection and daily oiling are recommended.
What are the signs of a gel nail allergy?
Signs of a gel nail allergy include itching, redness, or swelling around the nails after a service. These reactions typically stem from uncured monomers like HEMA touching the skin. If symptoms appear, it’s crucial to stop gel use and seek professional advice.
Is gel polish gentler than builder gel?
Gel polish is thinner and more flexible, so it adds less structure and less protection. The risks are the same ones: surface filing, peeling and harsh removal. Builder gel usually suits weak or splitting tips better, because its added thickness resists the bending that makes damaged nails crack.
Can gel nails cause onycholysis?
Yes, gel nails can contribute to onycholysis, which is the separation of the nail plate from the nail bed. This often occurs after heat trauma on an over-filed plate or from leverage issues with long extensions. If separation spreads, consult a dermatologist.
Next time you book, ask two things before anyone picks up a file: which lamp do you use with this gel, and do you rebalance or remove every visit? Those answers predict what your nails will look like in six months far better than the brand on the bottle. A salon that can’t answer either has told you what you need to know.
Comments (0)
No comments yet. Leave a thought below!