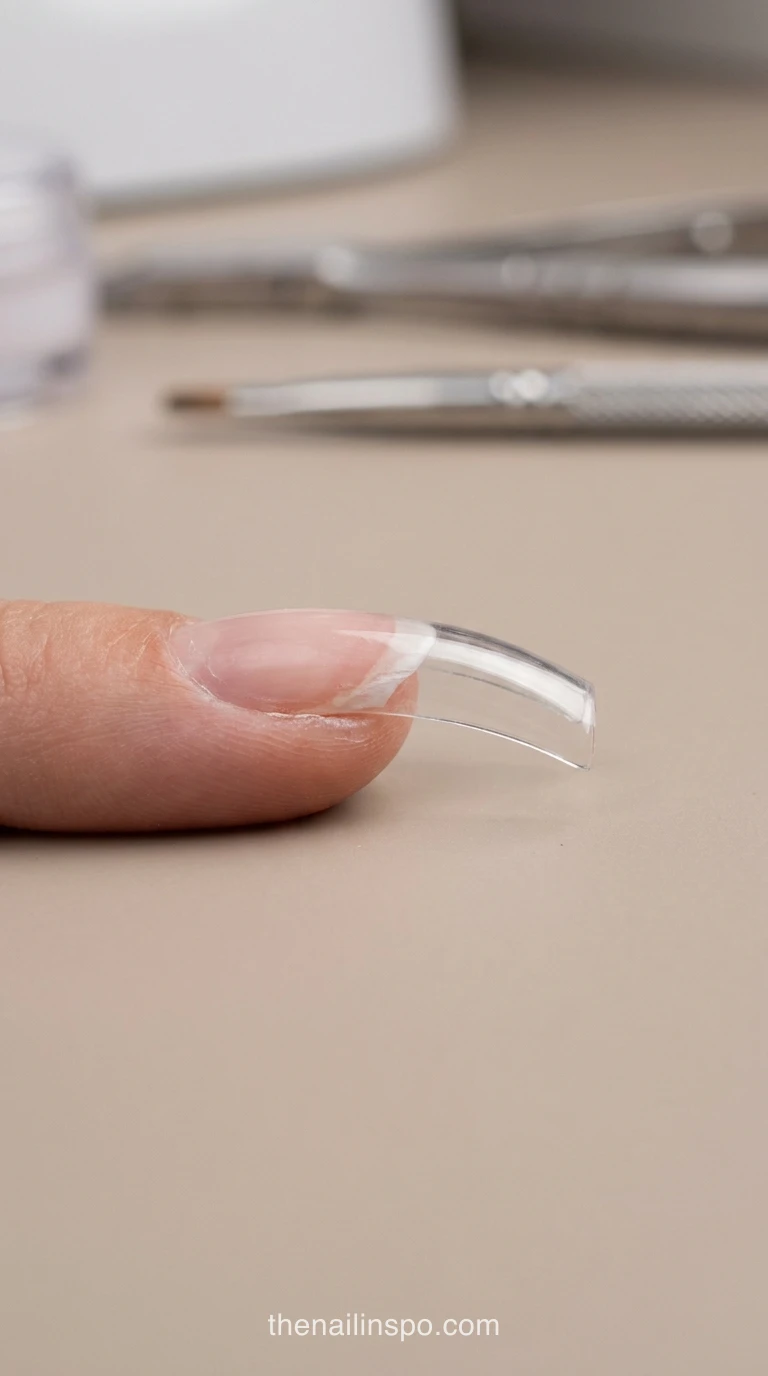
Why do acrylic nails lift? Almost always because the nail plate was prepped wrong, moisture got trapped at the cuticle, or the infill came too late. Oil is rarely the culprit, even though most guides blame it first. I’ve spent years fixing lifted sets in my London salon, and the failure usually starts at the cuticle, days before anyone notices. Here’s what’s actually happening under the product and the repair sequence I use.
Key takeaways- Lifting usually starts at the cuticle, where trapped moisture and leverage meet.
- Surface oil and lotion do more damage than the natural lipids inside the nail plate.
- Coarse grit etching thins the plate until it flexes away from the product.
- Filing should stop the moment the shine is gone, not a stroke later.
- Infill on schedule, and never glue a lifted edge back down.
Why Do Acrylic Nails Lift? The Short Answer
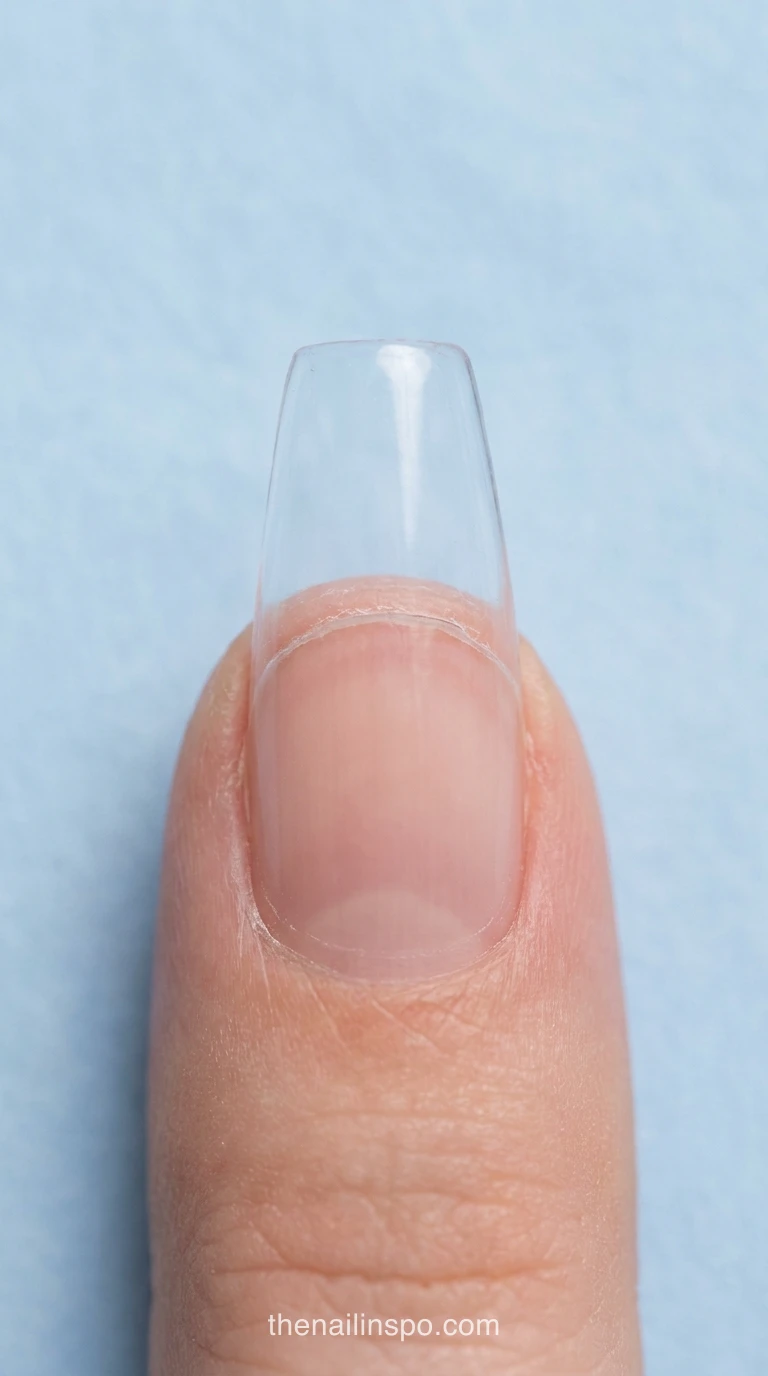
Acrylic nail lifting usually comes from moisture trapped under the product or from a nail plate that flexes too easily. Oil is rarely the main cause. The bond fails first at the cuticle because that’s where water and leverage meet. I’d put prep ahead of product brand every time.
Is Oily Skin the Real Culprit Here?
No, and this is the claim I’d push back on hardest. Cosmetic chemist Doug Schoon has argued that natural lipids make up only a small share of the nail plate, and they don’t stop acrylic from bonding once surface lotion and cuticle oil are gone. So when you’re dealing with lifting acrylic nails, the oil that matters sits on top. Check what lotion the client used that morning before you blame their skin.
How Long Before Lifting Shows Up
Within the first week, usually. A lift on day one points to dust, surface oil, or a rushed bead. A lift that waits until the second or third week usually means moisture got trapped at the cuticle and the nail shrank under the rigid product as it dried. So when you see it late, look at the infill schedule before blaming the set.
Sophia Beed’s note: Check your gel bonder and top coat labels before you blame prep. Many reformulated products list 365 nm or 405 nm, and a lamp that doesn’t match can leave the layer under-cured and peeling, which looks a lot like lifting.
 Read NextHard Gel vs Acrylic: Which One Is Best for You?
Nail Plate Thickness Decides How Much Flex You Get
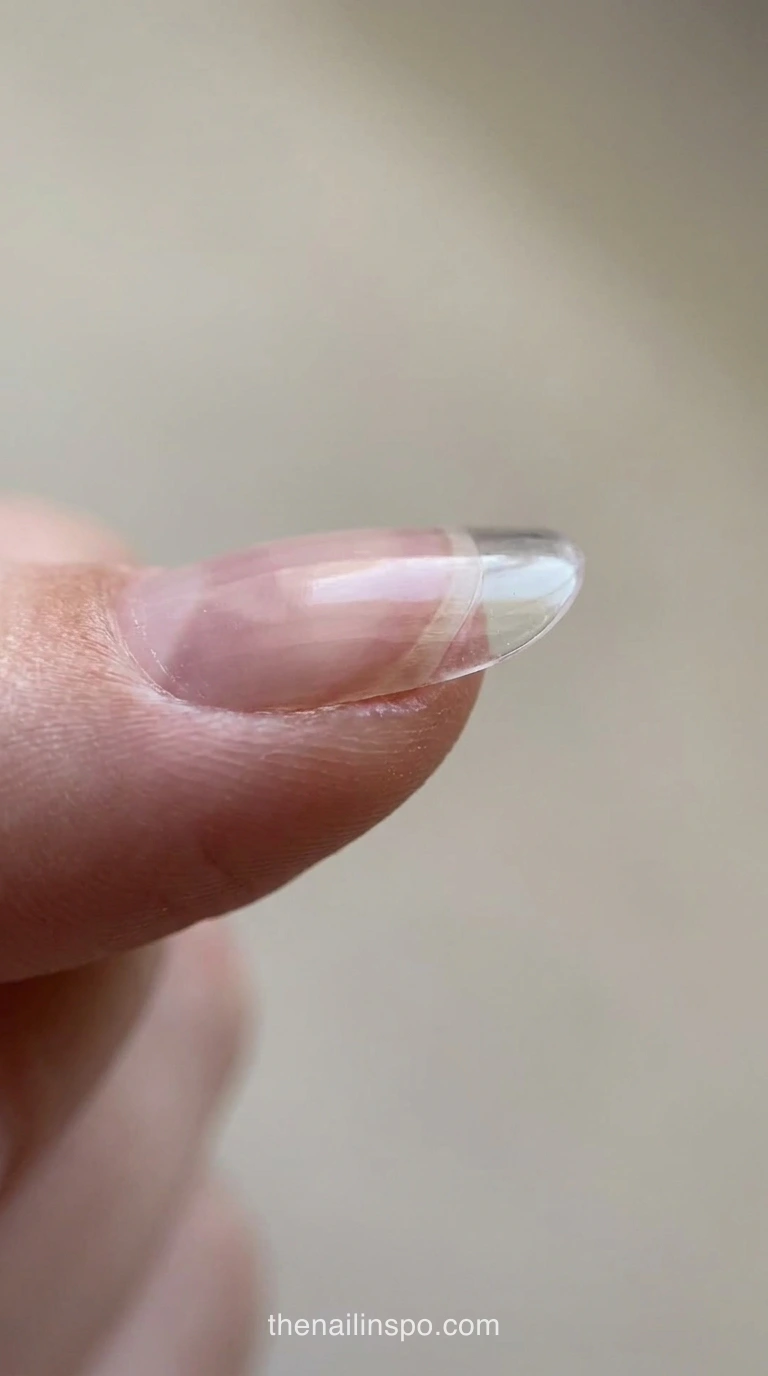
The natural nail plate is roughly half a millimeter thick, built from layers you can’t rebuild once they’re gone. Acrylic needs that plate to stay rigid underneath it, so a plate that’s been filed too deep bends with ordinary daily pressure and drags the product with it. Once you see that, filing stops being a shine exercise and becomes a structural decision.
Nail Prep Filing Grit for Acrylic Nails
Use a fine grit and stop once the shine is gone. That removes very little of the top layer, which is the point. Coarser grit removes far more, and it’s the reason I’d never use it on a client’s plate, even though the scratches look like grip.
Soaking Hands and Moisture Swings
Soaking hands for more than about a minute leaves the plate noticeably wetter than normal. As that water evaporates, the plate shrinks under rigid acrylic, and the cuticle takes the strain. Keep soaks short, and don’t count on a dehydrator to fully undo a long one.
Nail Dehydrator vs. Prep Filing: What Actually Works
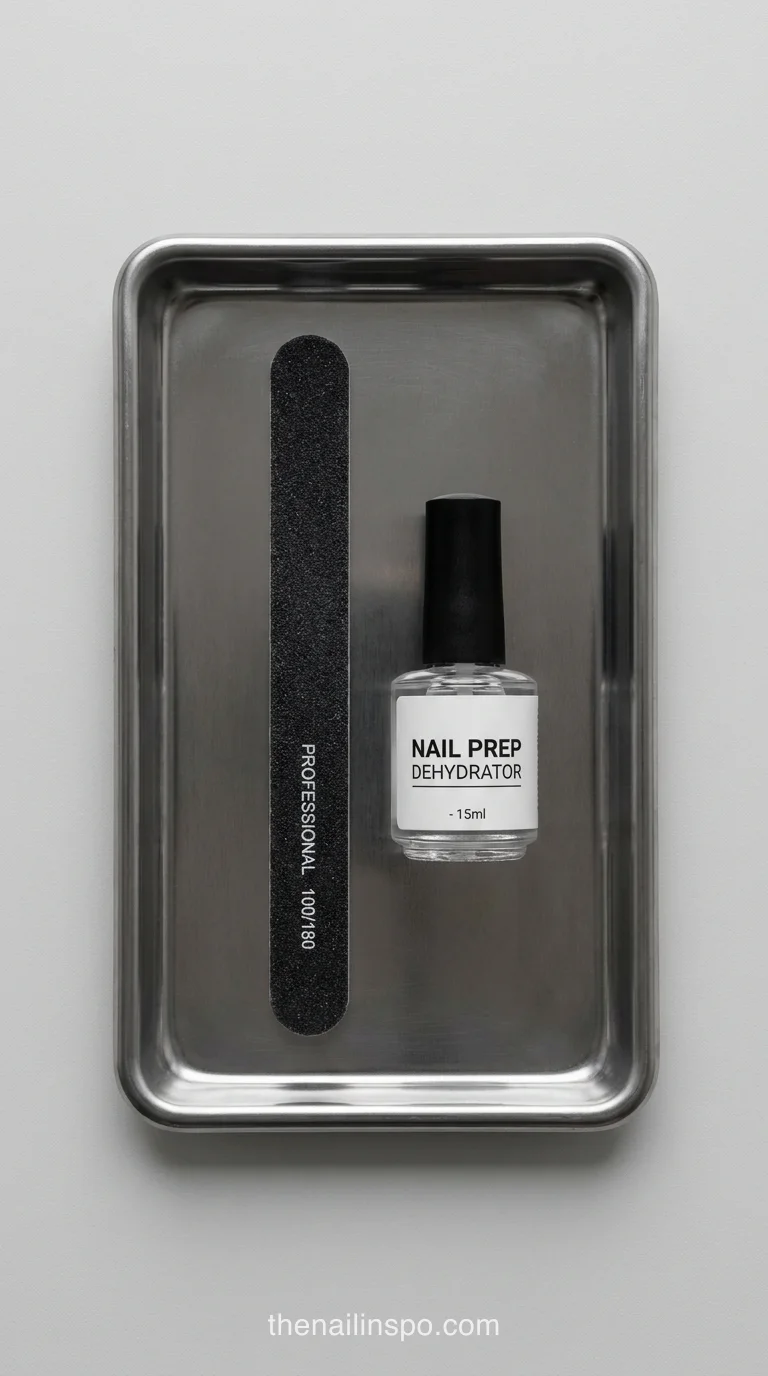
Prep filing does more for lifting than a dehydrator does, and a dehydrator is a helper, not a fix. Nail educators report that dehydrators only suppress surface moisture for a short window, so they can’t rescue a rushed prep. If you only buy one thing, make it a good file set and learn to stop at the shine. Here’s how the options compare.
| Option | What it actually does | Where it falls short | Verdict |
|---|---|---|---|
| Nail dehydrator | Pulls surface moisture off the plate right before primer goes on | Its effect fades fast, so a long prep session wipes out the benefit | Worth it if you book sets weekly, applied right before primer |
| Prep filing with a fine grit | Dulls the shine so primer has something to bond to | Overfiling thins the plate, so stop as soon as the shine goes | Non-negotiable, and the step I’d never skip |
| Coarse grit etching | Leaves visible scratches that look like grip | Strips the dense upper layer and thins the plate until it flexes away | Skip it, because the grip it promises is the flex that lifts the set |
| Alcohol wipe after filing | Removes dust and loose residue from the surface | Does nothing for moisture already trapped in the plate | Use it as the last step before primer, every time |
Best Dehydrator for Lifting Prevention
No single dehydrator fixes lifting on its own. Timing matters more than the bottle, so apply it right before primer, on the hand you’re working on. Skip the idea that one product can rescue a rushed prep.
Are Dehydrators Worth the Cost?
If you book sets weekly, yes, because it’s cheap insurance for the cuticle. If you do one set a month at home, skip it and put that money into a fine file and a lamp that matches your products. That’s a decision rule, not a verdict on the whole category.
 Read NextNail Apex Placement: 6 Best Steps for the Perfect Set
Acrylic Infill Timing: Six Steps to Fix a Lift
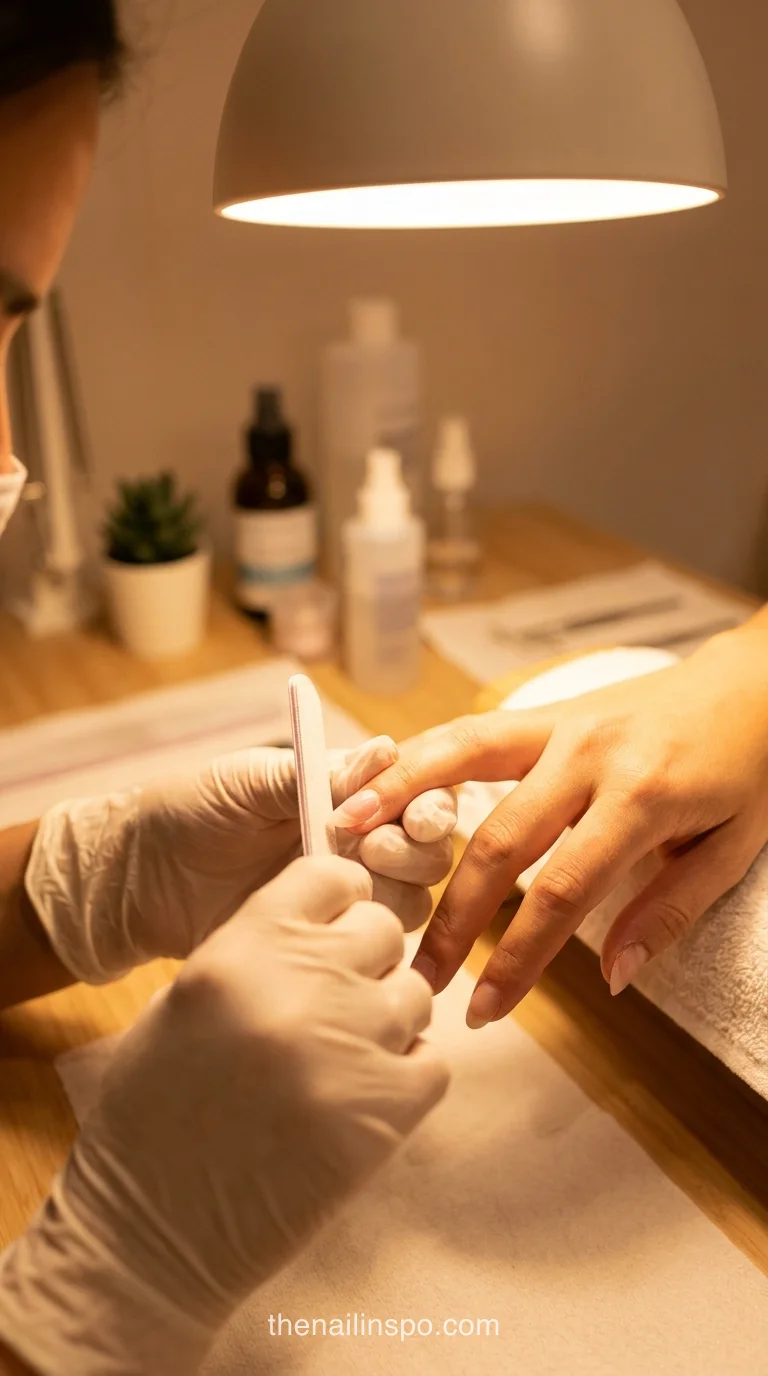
Fix a lift by removing the lifted product, not by gluing over it. Then re-prep, rebuild the free edge, and book the next infill on time. The sequence below is the one I use on repairs, and the order matters more than any single product.
Step 1: Remove all lifted product
File away every bit of lifted acrylic until the edge sits flush with the plate. Product left behind traps moisture under the new layer, so don’t stop at the obvious chip.
Step 2: Dehydrate and prep one hand at a time
Work one hand from start to finish so the plate doesn’t pick up moisture while you prep. Apply a dehydrator right before primer, then file with 180 to 240 grit only until the shine is gone.
Step 3: Leave a 1.5 mm margin at the cuticle
Keep the product about 1.5 mm back from the cuticle so skin contact can’t lever the edge up. It’s the rule I use on every set, and it’s the easiest change to make on a repair.
Step 4: Apply plastic tips at a 45-degree angle
Set each plastic tip at about 45 degrees to the nail, which helps prevent air pockets forming in the middle of the apex. Check the free edge for gaps before you move on.
Step 5: Seal the cuticle with an Acrylic Shaper bit
After the product has air cured for a full 10 minutes, use an Acrylic Shaper bit at 15,000 to 20,000 RPM to blend the cuticle transition. Finish with a Diamond Large Barrel bit at 10,000 to 20,000 RPM, and keep the bit moving so you don’t heat the nail.
Step 6: Book the infill within three weeks
Schedule the infill within three weeks, because waiting longer lets the free edge grow far enough to push the apex away from the nail bed. Waiting longer turns the lifted edge into a lever, and techs report it can crack the natural nail across the middle of the bed.
Acrylic Apex Placement After a Repair
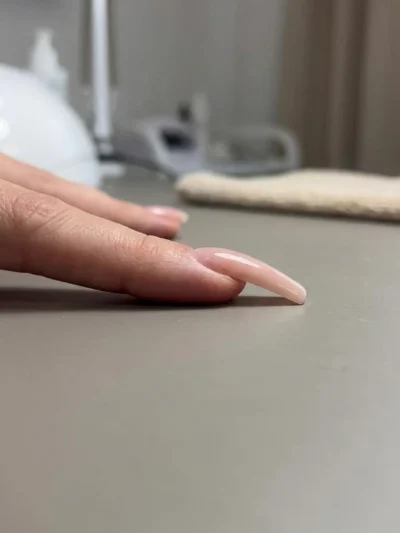
Build the apex close to where the natural nail carries its stress, so the free edge gets support instead of acting as a lever. Check the set from the side before you cure it. If the apex sits too far out, the free edge will act like a lever on the bed.
Greenies Nail Infection Risk Under Lifts
Lifted product traps moisture, and bacteria can grow in that gap. Techs often call the green discoloration greenies, after Pseudomonas aeruginosa. Don’t glue over it or keep wearing it. If you see green under the product, stop and see a doctor or pharmacist before anything else goes on the nail.
Sophia Beed’s note: Keep one cheap file for repairs and a good one for prep. Mixing them up is how people file too deep without noticing.
- Pincer nails: read this if your natural nail curves hard at the free edge, since that curve changes how the set lifts.
- Nail apex placement: the logical next read if your apex keeps sitting too far from the nail bed.
Can You Glue Lifted Acrylic Nails? Common Questions
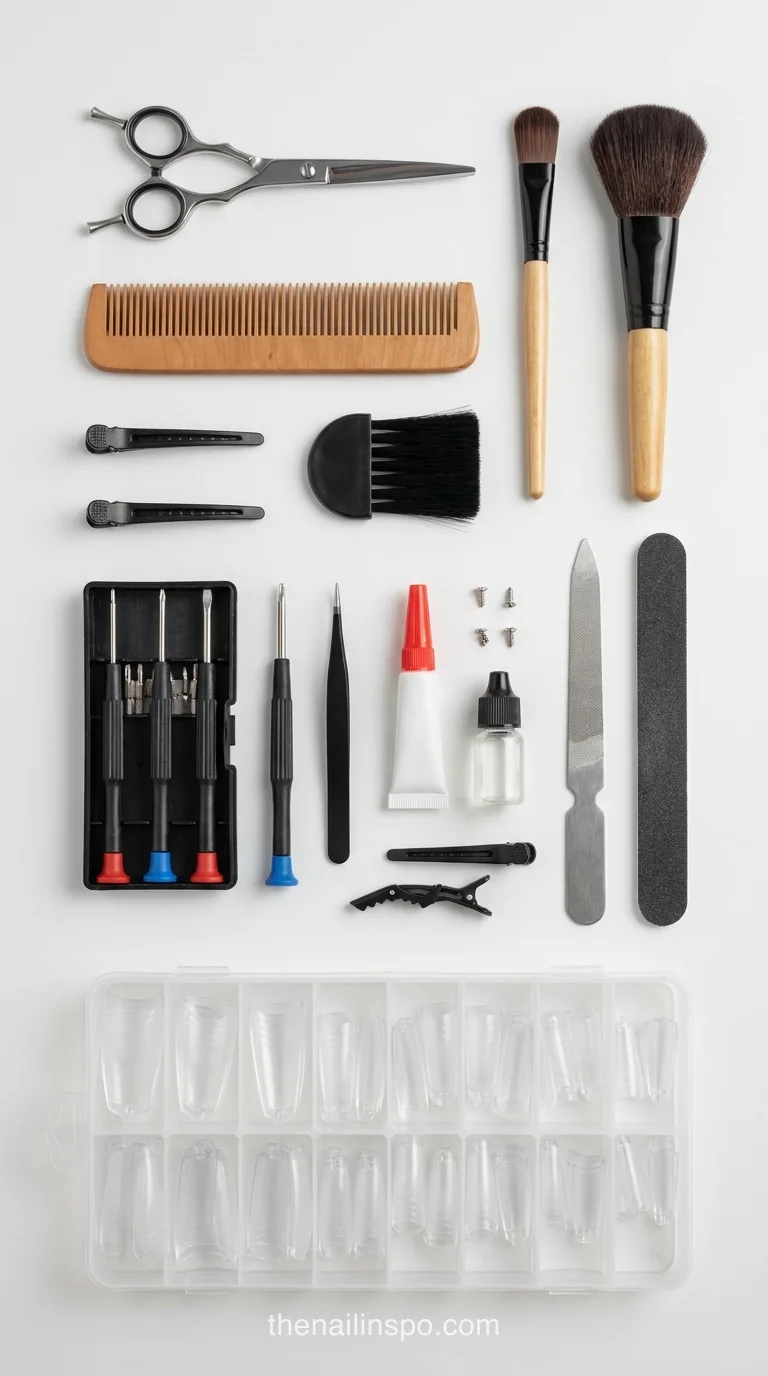
Can you glue lifted acrylic nails back down?
No, and I’d push back hard on anyone who says otherwise. Nail glue lacks the strength to re-bond acrylic, and it can seal moisture and bacteria into the gap, where they grow. The lifted product has to come off completely, then the nail gets re-prepped and rebuilt. A repair costs a fraction of a full set, so do it properly instead of hoping the glue holds.
How long do acrylic nails last before they lift?
The honest answer is that it depends on how the set was built and how it’s worn. Growth and wear set the window more than the calendar does, so treat any fixed schedule as a starting point. Heavy hand work and poor prep both shorten the window. I’d rather see a client rebook early than repair a lift, and that’s a choice, not a rule from any study.
Is it safe to file off lifted acrylic at home?
Yes, if you keep the file light and work only on the product you can see. Don’t dig at the cuticle or push under the edge with tools. Stop if you notice bleeding, pain, swelling, or any green discoloration, and see a doctor or pharmacist for those signs.
Is a repair cheaper than a full set?
Usually, yes, because a repair removes the lifted product and rebuilds only the damaged area. It doesn’t fix the cause, though. If lifting happens on every set, the prep routine is the problem, not your budget, and a repair only buys you time.
Before your next set, time your prep on one hand and note how long the cuticle work takes. If you’re rushing that stretch, you’ve found the habit that’s doing the lifting. Check the set on day three in good light, from the side, and you’ll usually catch a lift before your client does. Then decide whether the problem is the product or the process, because the answer changes what you buy next.
Comments (0)
No comments yet. Leave a thought below!