By Tanya, editorial manicurist and bridal stylist in Miami (6+ years of runway and catalog work). Published and last updated September 30, 2026. Styling calls are mine; brand directions and tech-reported techniques are credited as such.
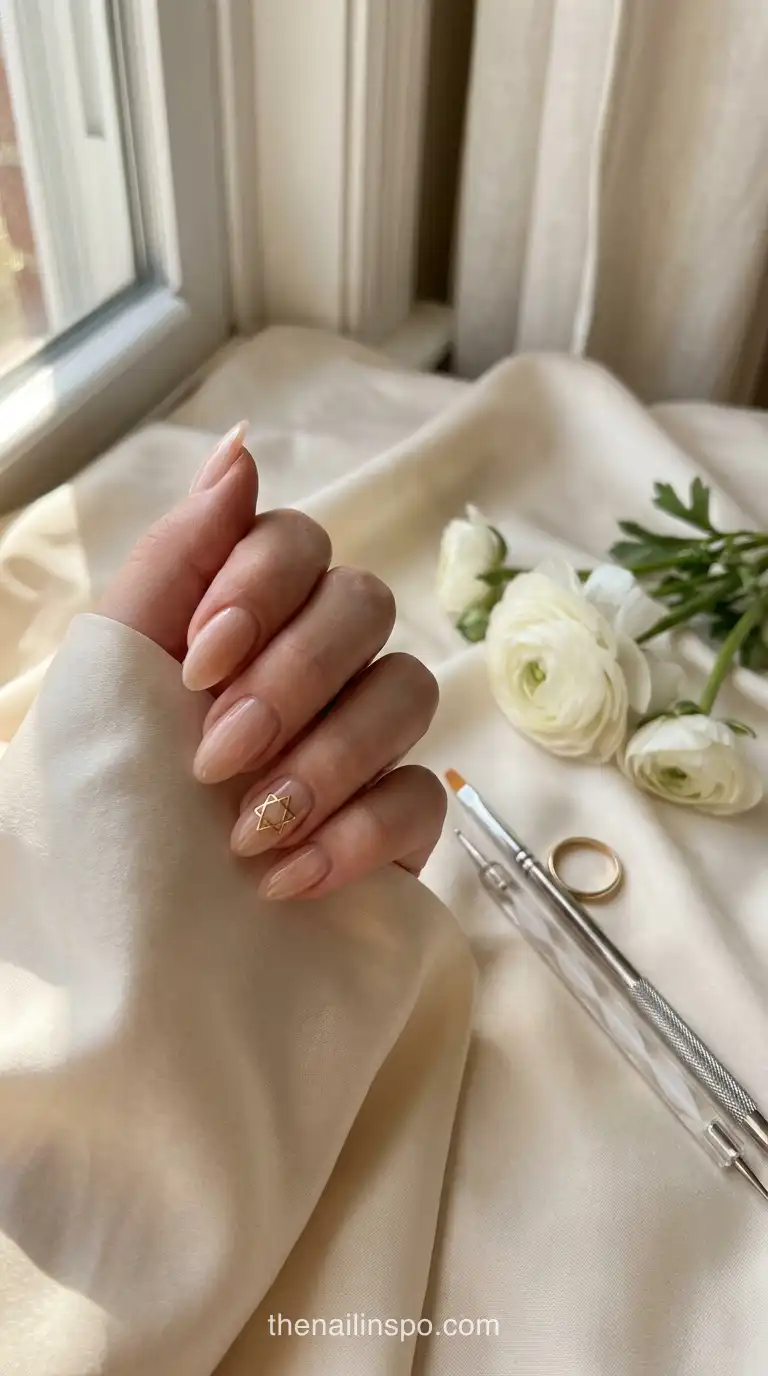
Here’s how to paint Star of David nails without the wobble: build the symbol from two overlapping equilateral triangles, one pointing up and one pointing down, instead of trying to freehand six points. Dot six guide marks like the numbers on a clock, connect every other dot with a long liner, let it set, then connect the rest. Float the top coat so you don’t drag the lines. Gel gives the crispest edges; wraps are the shortcut when your hands won’t cooperate.
Key takeaways- Painting the Star of David as two overlapping triangles removes most of the guesswork.
- Six dots at the even clock positions mark every corner first.
- A long liner held nearly flat pulls steadier lines than a short detail brush.
- The star symbolizes Judaism and Jewish identity broadly, not Hanukkah specifically.
How to Paint Star of David Nails: The Two-Triangle Method
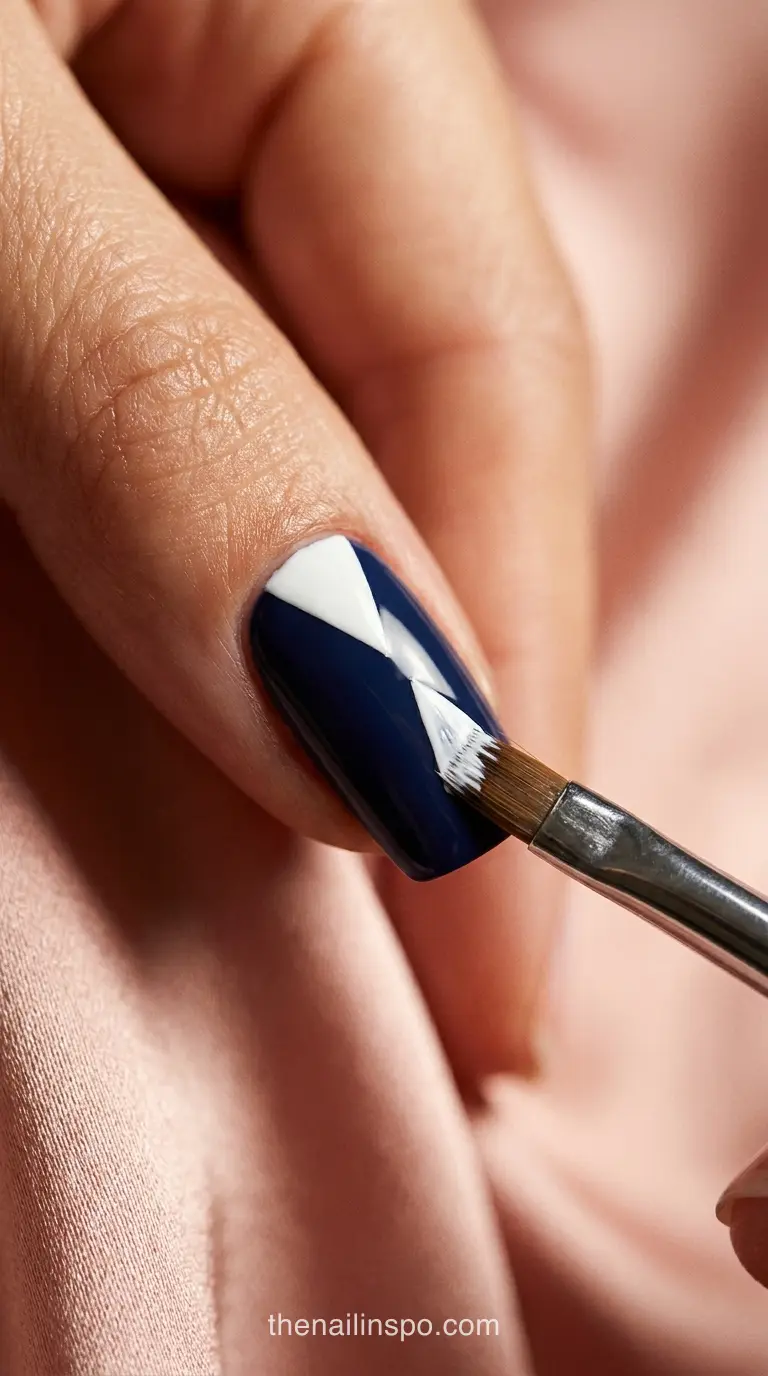
Paint one upward equilateral triangle, let it set, then paint a downward triangle of the same size over it, centered on the same point. The overlap creates all six points and the small hexagon in the middle on its own. Your real job is keeping the two triangles equal and concentric, which is a spacing problem, not a steady-hand problem.
Why Two Triangles Beat Freehand Points
Two triangles means six straight strokes, each running between two points you’ve already marked. A freehand star outline is twelve short edges meeting at angles you’re judging by eye. Strokes between fixed anchors are forgiving: a slight curve barely reads once the second triangle crosses it.
Tape Guides or Freehand: Best for Beginners?
For beginners, freehand between guide dots beats striping tape. The second triangle crosses the first, so tape means peeling and re-laying strips over fresh color, which is how bases get dented. If your lines still wander after a few practice tips, go to wraps instead of fighting tape.
 Read NextCute Nails 2026: 22 Best Milky Looks You Will Obsess
Jewish Star Nails Mean More Than a Holiday Motif
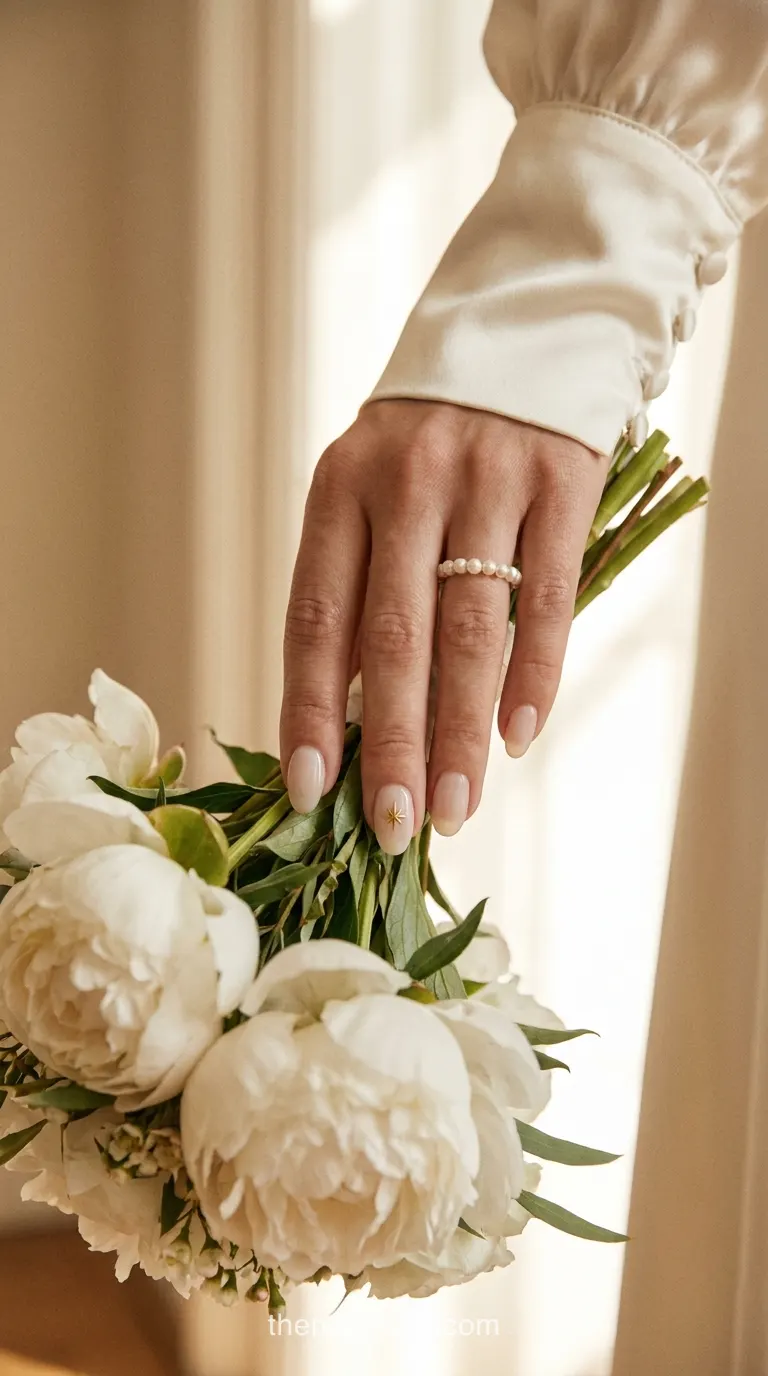
The Star of David, or Magen David, is a widely recognized symbol of Judaism and Jewish identity. It’s on the flag of Israel and on jewelry people wear year-round. So a star manicure fits a wedding, a bar or bat mitzvah, a Shabbat dinner, or a regular Tuesday, not just December.
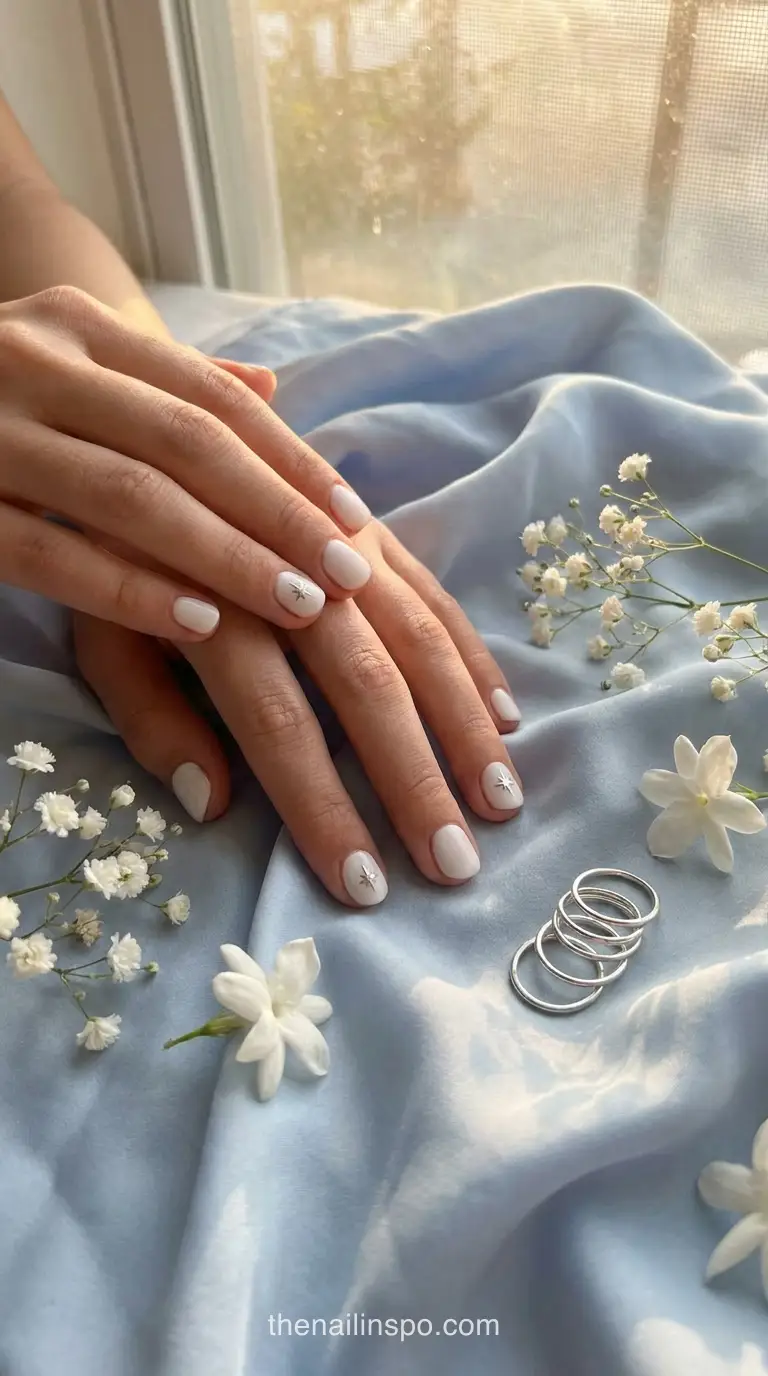
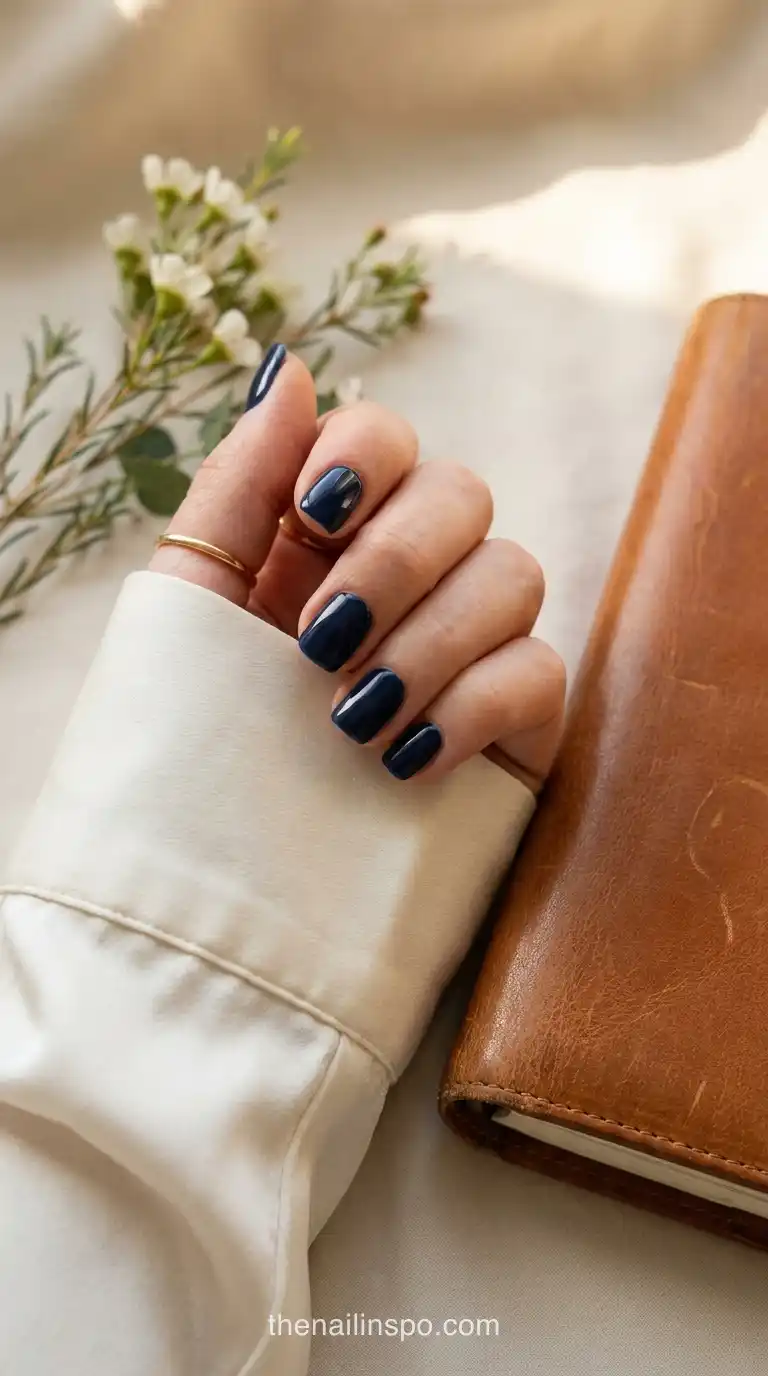
That changes the palette. Blue and white reads as Israel’s flag or Hanukkah; gold on sheer nude reads bridal, silver on navy reads evening, and white on white under matte reads modern. I’d also push back on starring every nail. One accent per hand, usually the ring finger, looks deliberate. Ten stars looks like a costume.
Is the Star of David a Hanukkah Symbol?
No. The Star of David is a symbol of Judaism as a whole, and Hanukkah has its own imagery: the nine-branched menorah called a hanukkiah, the dreidel, chocolate gelt, and sufganiyot. It shows up in Hanukkah decor because it’s Jewish, not because the holiday owns it.
Pairing the Star With Hanukkah Nail Designs
If you are painting for Hanukkah, keep the star as the accent and give the other nails the holiday’s own motifs: a tiny dreidel, eight dots for the candles, a blue-to-white ombre, or silver foil flecks. Our Hanukkah nail designs and ideas roundup has full sets built around those. Want blue without the holiday read? See wearing blue nails to work.
Gel vs Regular Polish: Which Paints a Cleaner Star?
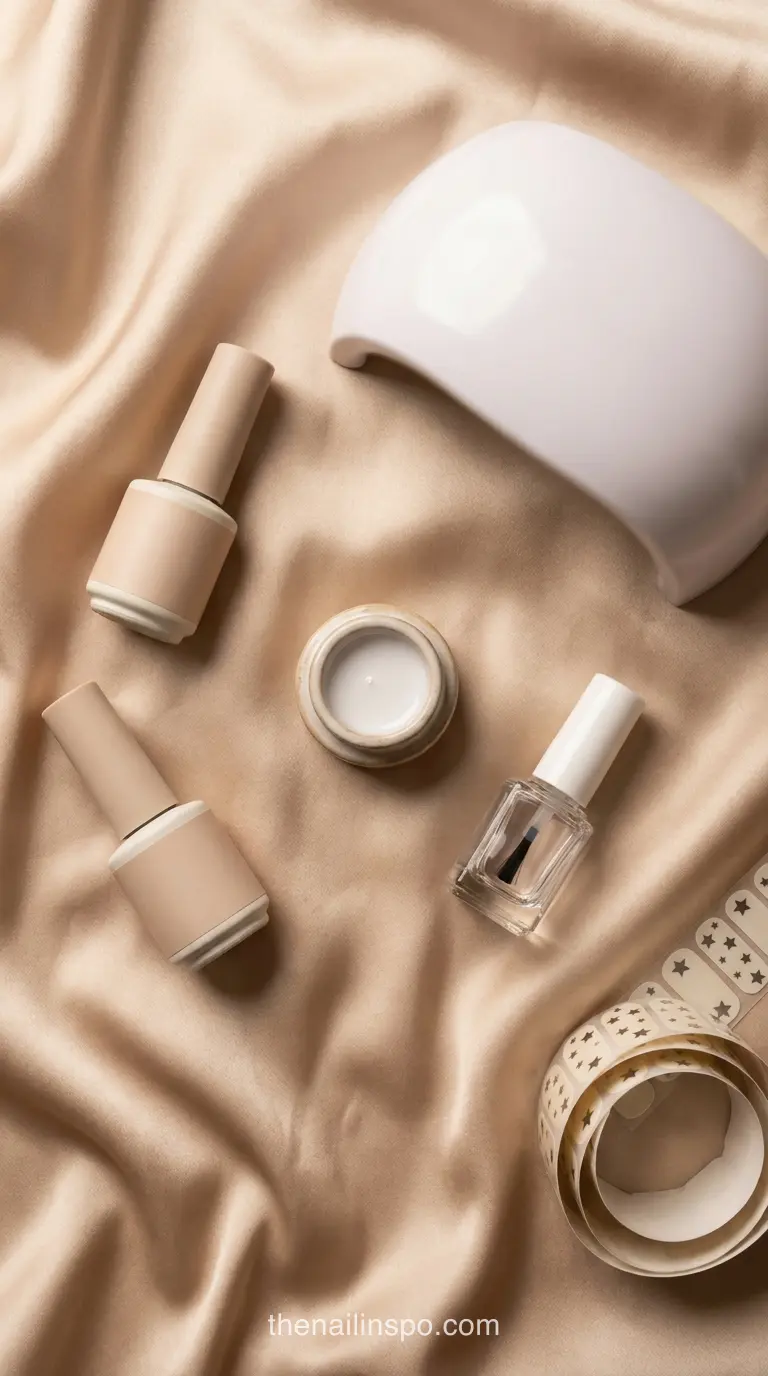
Gel paints a cleaner star, because nothing moves until you cure it. A crooked line wipes off and the base stays untouched. Regular polish starts setting immediately, so line work gets a short window and a real smudge risk.
| Option | How it handles line work | Timing or cost | Verdict |
|---|---|---|---|
| Essie regular lacquer | Lines stay crisp only once the color underneath is fully dry. | Two color coats, a two-minute wait, then one coat of Speed Setter, per Essie’s current directions. | Use it if you don’t own a lamp, and paint the star only after the base is dry to the touch. |
| OPI GelColor | Each line stays workable until you cure it. | Thin layers, two color coats, and a 30-second cure after every layer from base to top coat, in OPI’s specified lamp. | Best pick if you own the system and its matching lamp. |
| Opaque painting gel | Holds a sharp, opaque edge in one pass. | Cure in its brand’s specified lamp; a little goes a long way. | The one I’d buy if you’re adding one product for line art. |
| Star of David nail wraps | No painting: the star is pre-printed and symmetrical. | A few dollars a set; no drying time for the design itself. | Right for a one-off event or an unsteady hand. |
No table captures your own hand. If your lines are already steady, polish is fine. If they aren’t, gel’s wipe-and-redo window matters more than any finish difference.
Tanya’s note: For gel, cure in the lamp specified for that product system, not whichever lamp is closest. Not every UV/LED lamp gives the same cure.
Opaque Painting Gel for Crisp Line Work
Opaque painting gel is a thick, heavily pigmented gel made for art, not coverage. Users consistently find it needs less product than ordinary polish for a crisp line. That matters on a star, because a thin line has to look solid in one pass. Go back over it and you’ve doubled the width.
Star of David Nail Wraps: Worth It at $3?
For a single event, yes. Recent listings had Star of David wraps at US$2.99 for 14 strips and US$3.75 for 16 double-ended strips, though prices move. The catch is fit: on very narrow or very wide nails, fixed-size wraps can sit off-center or crowd the sidewalls. Painting regularly? Learn the liner. One bat mitzvah weekend? Wraps.
 Read NextBest November Nails Ideas 2026: 45 Gorgeous Styles!
Six-Pointed Star Nail Design, Step by Step at Home
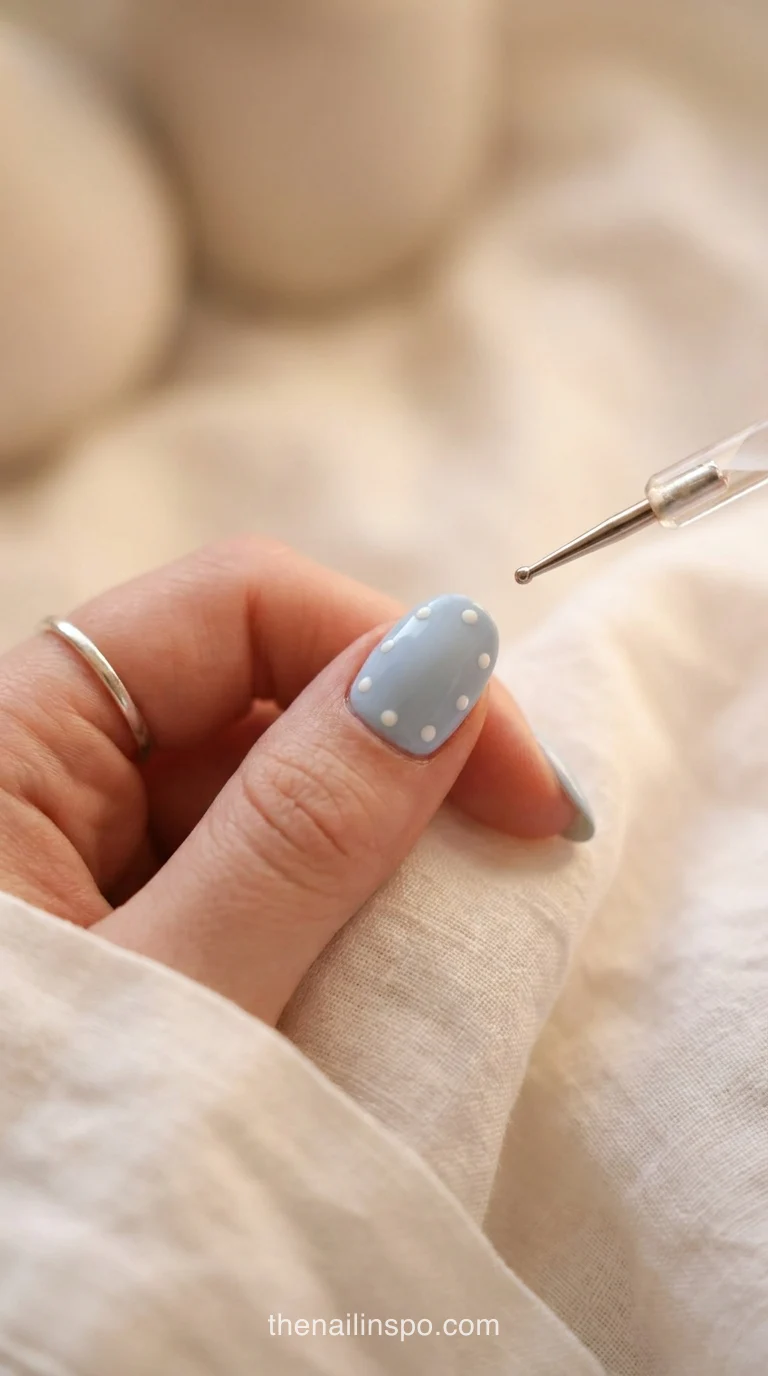
You need a finished base, a long liner brush, opaque painting gel or a heavily pigmented polish, a dotting tool, and a top coat. Do one accent nail per hand before a full set; it’s the fastest way to learn whether your brush and paint behave.
Step 1: Prep and base color
Apply base and color per your product’s instructions and let it fully set or cure. With regular polish, wait until it’s dry to the touch; a liner pulled over tacky polish drags the base with it.
Step 2: Dot the six clock positions
Picture a small clock centered on the nail. With a dotting tool, place tiny dots at 12, 2, 4, 6, 8 and 10 o’clock, all the same distance from center. Keep the clock on the flat part of the nail so no point bends toward a sidewall.
Step 3: Pull the upward triangle
Load the liner lightly and pull a line from 12 to 4, then 4 to 8, then 8 back to 12. Cure it, or let it dry, before moving on.
Step 4: Cross with the downward triangle
Connect 2 to 6, 6 to 10, and 10 back to 2. If one side looks thinner, add a hair of paint to it rather than trying to shave down the thick one. Cure or dry fully.
Step 5: Seal without dragging
Load the top coat brush generously and let the bead of product glide over the star without the bristles pressing into the lines. Cure or dry according to your top coat’s instructions.
Nail Art Liner Brush: Why Longer Bristles Win
Techs who do a lot of line work report that a long-bristled liner held flatter against the nail gives steadier straight lines than a short detail brush. The longer belly carries enough paint to reach dot to dot without running dry. Short brushes force short dabs on a triangle edge, and every restart leaves a visible join. If your kit only has the stubby brush from a nail art set, replace that first.
 Read NextBest Blue Nail Polish Shades for Every Skin Tone
Shaky Lines in Nail Art and How to Fix Them
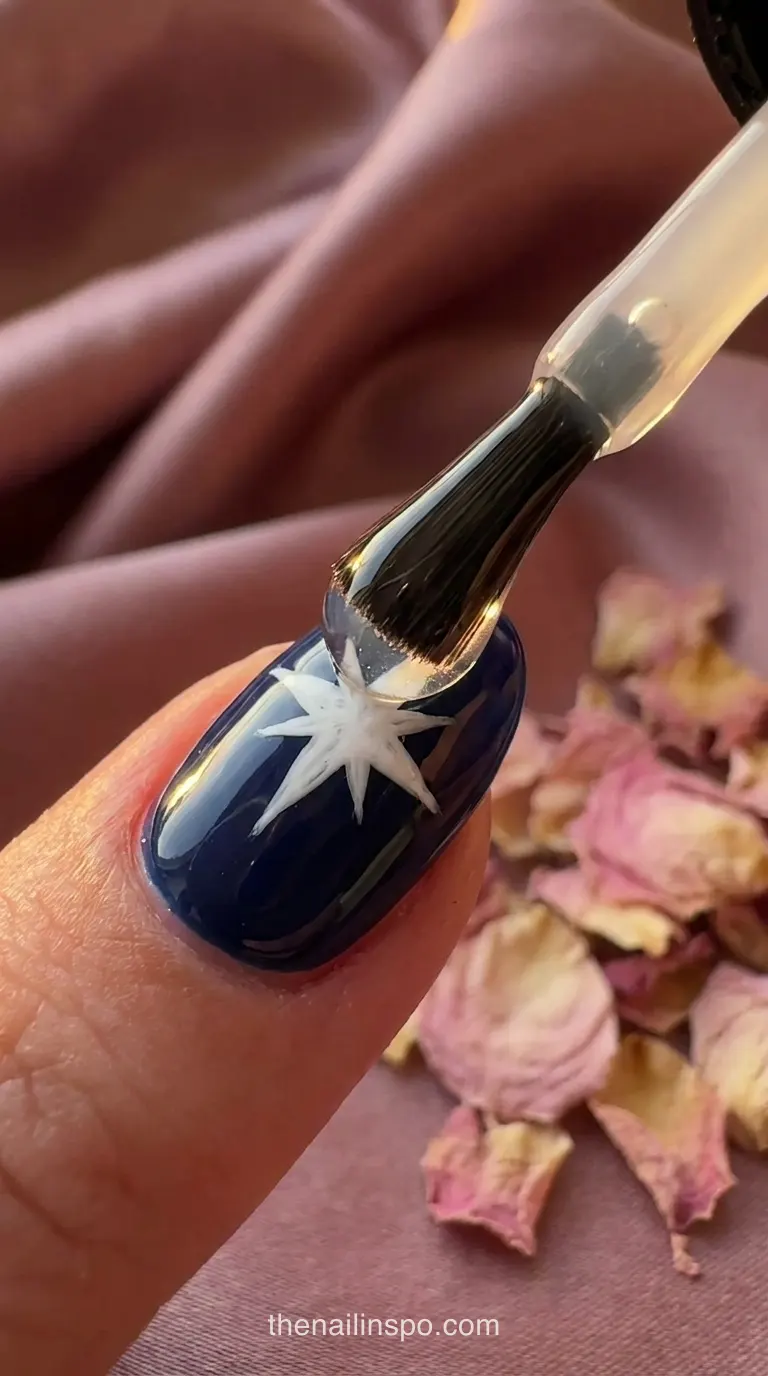
Shaky lines usually come from moving the brush with your wrist, holding it upright, stopping mid-stroke, or paint that’s gone thick. Brace your painting hand’s pinky on the table and pull each edge from dot to dot in one continuous motion.
Don’t paint over a wobble to hide it. On uncured gel, wipe it with a clean brush dampened with your system’s cleanser and pull again. On polish, let it dry and turn the flaw into a slightly bolder line on purpose.
Top Coat Smearing Your Lines? Float It
Top coat smears line work when the brush drags through art that hasn’t fully set, or when the top coat’s solvent softens regular polish underneath. Nail artists report fewer smears when they float the top coat, keeping a bead of product between bristles and design, or first apply a water-based, no-smudge barrier over the art.
How Long Does Hand-Painted Nail Art Last?
It depends on the base system, not the star. Gel line art under gel top coat lasts as long as the gel manicure. On polish, tips wear first, so a centered star usually outlasts the free edge. I won’t give a day count; one number for everybody is a guess.
Recommended for you- Hanukkah nail designs and ideas: full-set looks to build around a single star accent.
- Can you wear blue nails to work?: how to keep a blue-and-white star office-appropriate.
Star of David Nail Art: Questions Readers Ask Next
How big should the star be on short nails?
Size the star to the flat center of the nail, not its length. If the clock dots crowd the sidewalls, shrink the clock until every point has clear base color around it. A small, well-spaced star beats a big one bending over the curve. On short sets, put it on the widest nail, usually the thumb.
Can I use a stamping plate instead of hand-painting?
Yes, if your plate has a Star of David image. Stamping gives perfect symmetry in one press, but centering takes practice because the star lands wherever the stamper touches. Hand-painting is slower and gives full control over size. For ten identical stars, stamp. For one accent nail sized to fit, paint it.
Is it okay to wear Star of David nails if I’m not Jewish?
I can’t answer that for every community. It’s a religious and identity symbol with a heavy history, including the yellow badge Nazi Germany forced Jews to wear. Celebrating with Jewish family or friends is different from using it as decoration. If it’s just a pretty shape to you, pick another star.
How do I remove Star of David nail wraps without damage?
Follow your wraps’ own removal directions, since adhesives differ. Lift gently from a side edge rather than the cuticle, and if a wrap resists, soften it the way the maker recommends instead of peeling harder. Forcing wraps off is how you end up with rough, peeled patches.
Before an event, paint one practice nail a few days ahead with the exact products and brush you plan to use. You’ll see whether the top coat smears your lines or the edges wear, with time left to switch to wraps. The star is simple. The product combination is what you’re really testing.
Comments (0)
No comments yet. Leave a thought below!